


您好,在本指南中,我们将学习如何使用 visx 创建进度圆环图。甜甜圈图是饼图的变体,具有中心孔,类似于甜甜圈。
理解数学
为了有效地实现我们图表的功能,必须掌握其背后的数学原理。该图表是一个 360 度或 2 * pi 弧度的圆。以下是我们确定每个进度段的角度的方法:
2 * pi / (number of progress data points)
每个进度段的起始角度是通过将索引乘以 2 * pi 除以进度数据点总数得出的:
(index) * 2 * pi / (number of progress data points )
进度段的结束角度是通过将进度百分比添加到索引,然后乘以 2 * pi 除以进度数据点总数来计算的:
(index + (progress / 100)) * 2 * pi / (number of progress data points )
对于代表剩余进度的轨迹栏,起始角度与进度段的结束角度相同,结束角度为进度段的起始角度加上该段总进度。
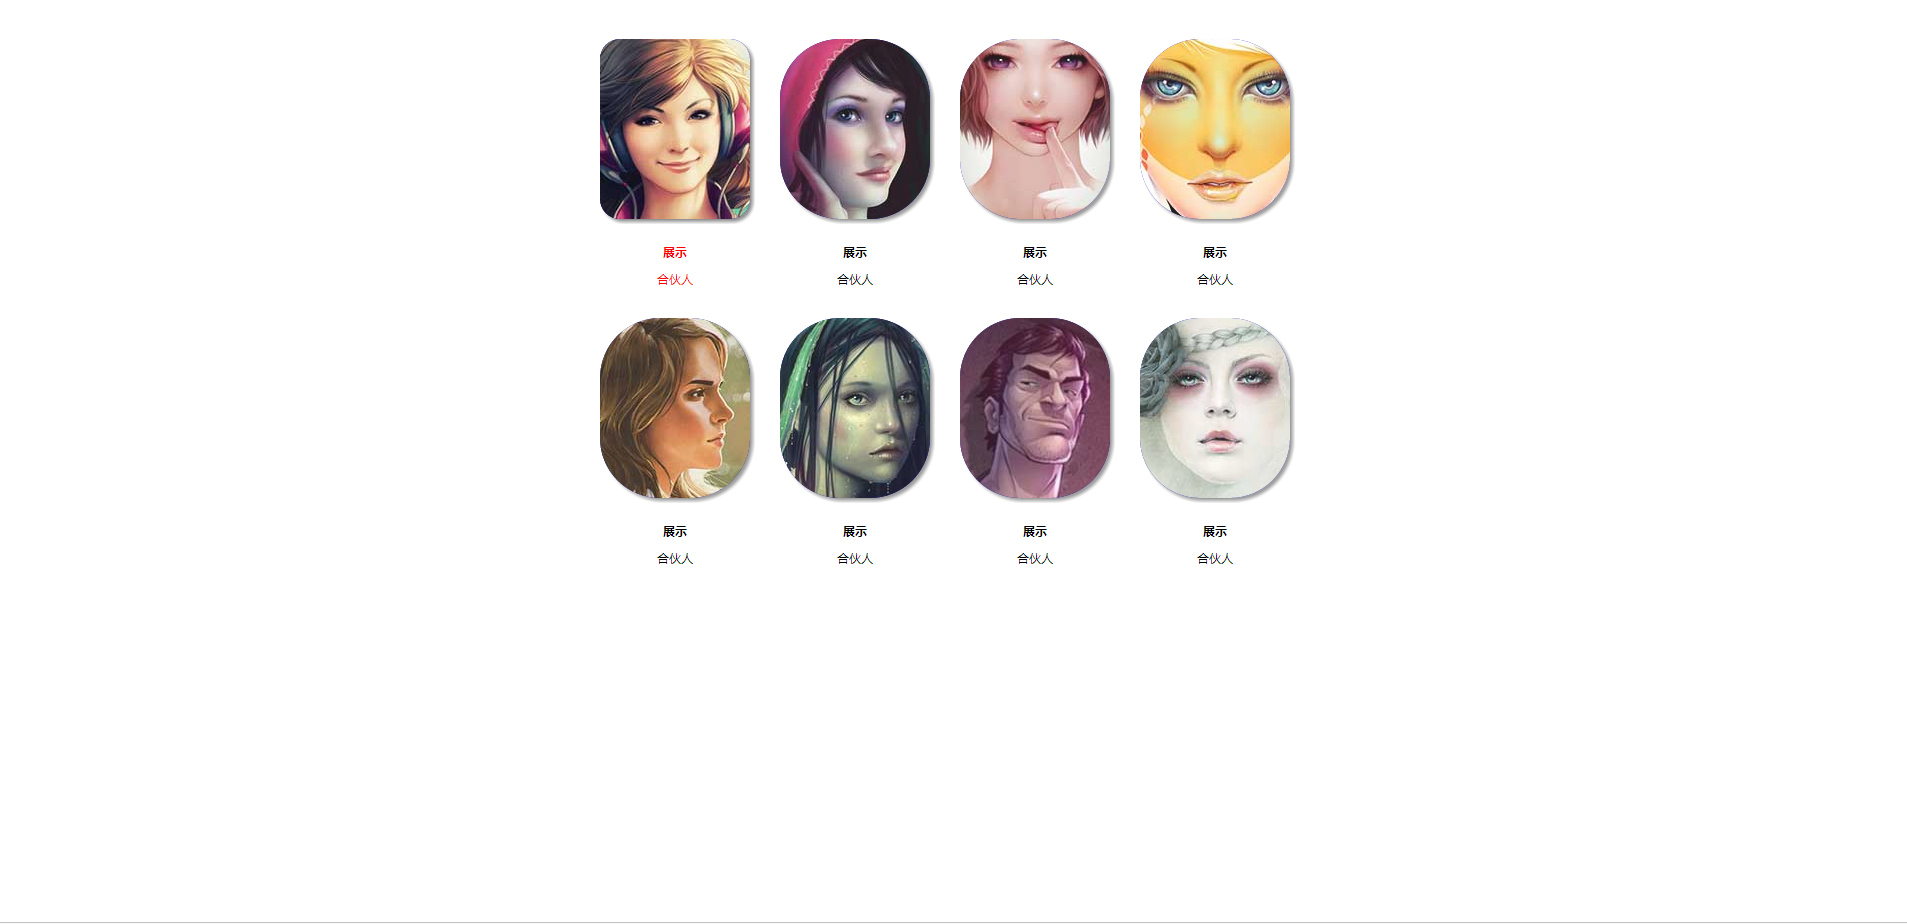
jQuery鼠标经过方形图片切换成圆边特效
下载
jQuery鼠标经过方形图片切换成圆边特效,点击图片会弹出浮层,适合团队页面的展示,兼容主流浏览器,php中文网推荐下载! 使用方法: 1、在head区域引入样式表文件lrtk.css 2、在head区域引入jquery-1.7.1.js 3、在你的网页中加入注释区域代码即可。
(index + (progress / 100)) * 2 * pi / (number of progress data points )
轨迹栏结束角度:
(index + 1) * 2 * pi / (number of progress data points)
圆环图代码
开发图表的第一步是组织必要的数据。在 data.js 文件中,您将定义进度数据的符号、进度金额以及相应的颜色。
export const coins = [
    { symbol: "r", color: "#121212", progress: 30, },
    { symbol: "l", color: "#91235d", progress: 37,  },
    { symbol: "s", color: "#5ef13f", progress: 90,  },
    { symbol: "w", color: "#643dfe", progress: 50, },
    { symbol: "d", color: "#ef0de6", progress: 45, },
];
接下来,让我们实现圆环图组件。利用上述数学计算动态生成每个进度段的角度和随附的轨迹栏。
import { Pie } from "@visx/shape";
import { Group } from "@visx/group";
import { scaleOrdinal } from "@visx/scale";
import { Text } from "@visx/text";
const margin = { top: 10, right: 10, bottom: 10, left: 10 };
const thickness = 25;
export default function Donut({
width,
height,
data,
title,
}: {
width: number;
height: number;
data: { symbol: string; progress: number; color: string }[];
title: string;
}) {
const innerWidth = width - margin.left - margin.right;
const innerHeight = height - margin.top - margin.bottom;
const radius = Math.min(innerWidth, innerHeight) / 2;
const centerY = innerHeight / 2;
const centerX = innerWidth / 2;
const getBrowserColor = scaleOrdinal({
domain: data.map((d) => d.symbol),
range: data.map(item => item.color),
});
return (
)
}
如果您在构建圆环图组件方面需要进一步说明或帮助,请随时与我们联系。感谢您阅读本文,现场演示就在这里。


