
to effectively utilize the mvn jetty:run command, follow these revised steps to set up and run your web project with maven and jetty:
Step 1:
Begin by creating a web project using Maven. For detailed instructions on how to generate a Maven web project on Windows 7, refer to the guide titled "Using Maven to generate a Java Project or Web Project".
Step 2:
Modify the pom.xml file in your newly created web project as shown below:
<project xmlns="http://maven.apache.org/POM/4.0.0" xmlns:xsi="http://www.w3.org/2001/XMLSchema-instance" xsi:schemaLocation="http://maven.apache.org/POM/4.0.0 http://maven.apache.org/maven-v4_0_0.xsd">
    <modelVersion>4.0.0</modelVersion>
    <groupId>com.b510.shopping</groupId>
    <artifactId>shopping-core</artifactId>
    <packaging>war</packaging>
    <version>1.0-SNAPSHOT</version>
    <name>shopping-core Maven Webapp</name>
    <url>http://maven.apache.org</url>
    <dependencies>
        <dependency>
            <groupId>junit</groupId>
            <artifactId>junit</artifactId>
            <version>3.8.1</version>
            <scope>test</scope>
        </dependency>
    </dependencies>
    <build>
        <finalName>shopping-core</finalName>
        <pluginManagement>
            <plugins>
                <plugin>
                    <groupId>org.mortbay.jetty</groupId>
                    <artifactId>maven-jetty-plugin</artifactId>
                </plugin>
            </plugins>
        </pluginManagement>
    </build>
</project>Step 3:
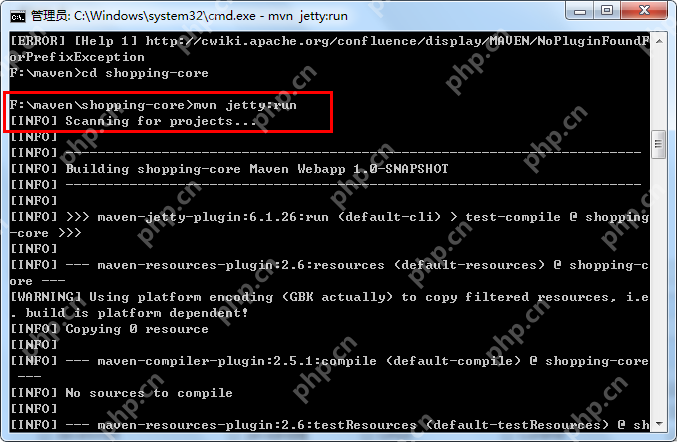
Execute the command mvn jetty:run. Ensure you are in the correct directory, such as "F:/maven/shopping-core", before running this command.
Step 4:
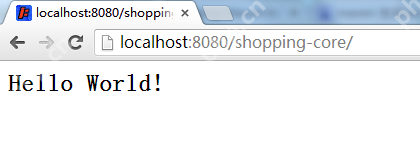
Launch your web browser and navigate to "https://www.php.cn/link/d8696cc3e3447ac44237a936a80b05d8" to view your web application.
For further assistance or inquiries, feel free to reach out via email at hongtenzone@foxmail.com or visit the blog at https://www.php.cn/link/7c39352813045206add05c79f8662e1c.
以上就是Command mvn jetty:run的详细内容,更多请关注php中文网其它相关文章!

每个人都需要一台速度更快、更稳定的 PC。随着时间的推移,垃圾文件、旧注册表数据和不必要的后台进程会占用资源并降低性能。幸运的是,许多工具可以让 Windows 保持平稳运行。

Copyright 2014-2025 https://www.php.cn/ All Rights Reserved | php.cn | 湘ICP备2023035733号


 493
493