


在Linux上使用Docker容器化部署GitLab是一个相对简单的过程。以下是详细的步骤:
前提条件
- 安装Docker:确保你的Linux系统上已经安装了Docker。如果没有安装,可以参考Docker官方文档进行安装。
- 获取GitLab镜像:你可以从Docker Hub上获取GitLab的官方镜像。
步骤
1. 获取GitLab镜像
打开终端并运行以下命令来拉取GitLab的最新镜像:
docker pull gitlab/gitlab-ce:latest
2. 创建并启动GitLab容器
你需要创建一个数据卷来持久化GitLab的数据(如代码仓库、配置文件等)。然后启动GitLab容器。
首先,创建一个数据卷:
docker volume create gitlab_data
接下来,启动GitLab容器。以下是一个基本的启动命令示例:
docker run --detach \
  --hostname gitlab.example.com \
  --publish 443:443 --publish 80:80 --publish 22:22 \
  --name gitlab \
  --restart always \
  --volume gitlab_data:/var/opt/gitlab \
  gitlab/gitlab-ce:latest
解释:
- --detach:以后台模式运行容器。
- --hostname:设置GitLab的主机名。
- --publish:将容器的端口映射到主机的端口。
- 443:443:HTTPS端口。
- 80:80:HTTP端口。
- 22:22:SSH端口。
- --name:为容器指定一个名称。
- --restart always:设置容器在退出时自动重启。
- --volume:将数据卷挂载到容器内的路径。
3. 配置GitLab
默认情况下,GitLab会通过浏览器访问http://your_server_ip。你需要配置SSL证书以确保安全通信。
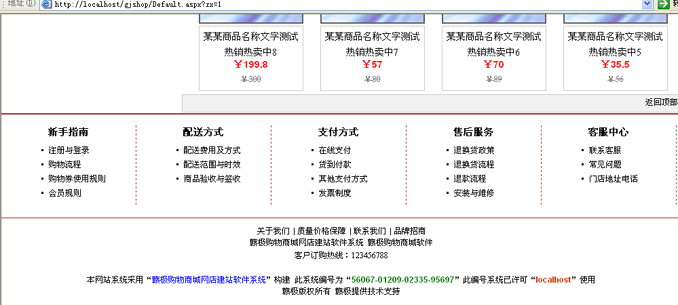
赣极购物商城网店建站软件系统
下载
大小仅1兆左右 ,足够轻便的商城系统; 易部署,上传空间即可用,安全,稳定; 容易操作,登陆后台就可设置装饰网站; 并且使用异步技术处理网站数据,表现更具美感。 前台呈现页面,兼容主流浏览器,DIV+CSS页面设计; 如果您有一定的网页设计基础,还可以进行简易的样式修改,二次开发, 发布新样式,调整网站结构,只需修改css目录中的css.css文件即可。 商城网站完全独立,网站源码随时可供您下载
你可以使用Let’s Encrypt免费获取SSL证书,并使用Certbot进行配置。以下是一个基本的Certbot配置示例:
-
安装Certbot和Nginx插件:
sudo apt-get update
sudo apt-get install certbot python3-certbot-nginx
-
运行Certbot以获取并配置SSL证书:
sudo certbot --nginx -d gitlab.example.com
按照提示完成配置。
4. 验证部署
打开浏览器并访问https://gitlab.example.com,你应该能够看到GitLab的登录页面。
其他配置选项
-
自定义配置:你可以通过挂载自定义的配置文件来覆盖默认配置。例如,挂载一个自定义的gitlab.rb文件:
docker run --detach \
  --hostname gitlab.example.com \
  --publish 443:443 --publish 80:80 --publish 22:22 \
  --name gitlab \
  --restart always \
  --volume gitlab_data:/var/opt/gitlab \
  --volume /path/to/custom/gitlab.rb:/etc/gitlab/gitlab.rb \
  gitlab/gitlab-ce:latest
然后运行以下命令以应用自定义配置:docker exec -it gitlab gitlab-rake gitlab:config:import
通过以上步骤,你应该能够在Linux上成功部署GitLab的容器化版本。如果有任何问题,请参考GitLab官方文档或寻求社区帮助。


