


ipados启动黑屏问题分析(一)
昨天我们讨论了旧项目在iOS 13下完全启动后出现黑屏的问题。通过UI图层分析,我们一步步找到了问题的根源——iPadOS的底层以及操作思路的转变。
单窗口时代
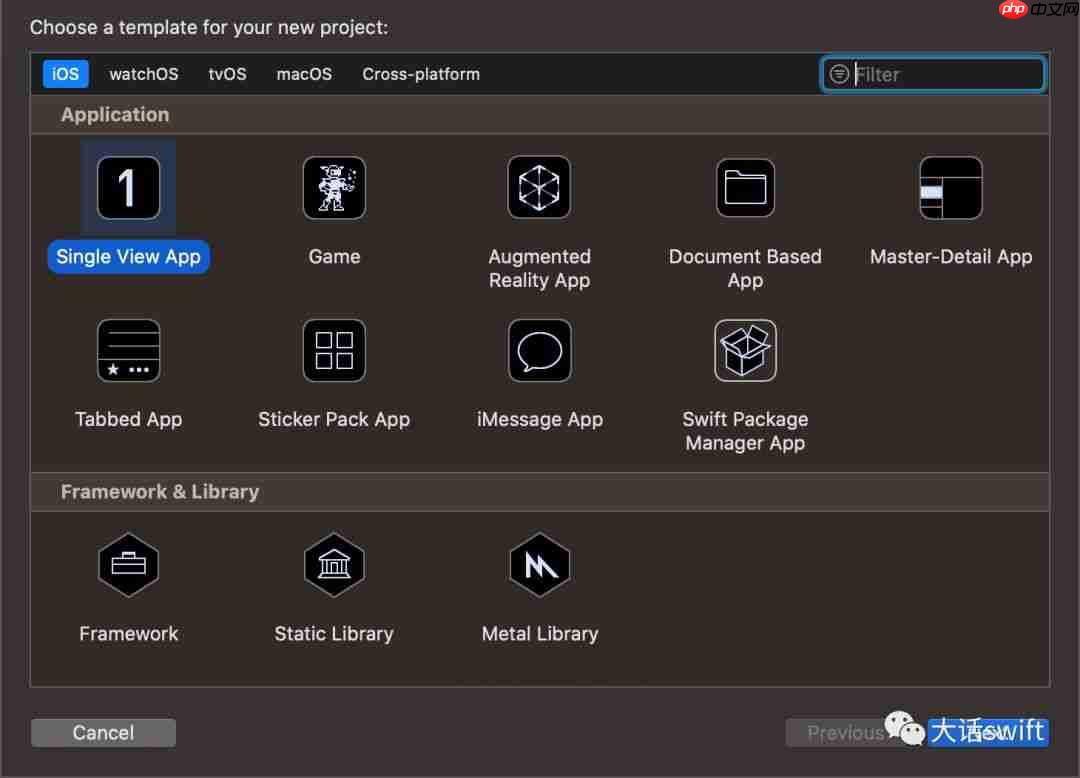
我们可以将单窗口的iOS定义为旧时代,即之前的iOS应用默认基于单一窗口模式开发(如下图)。作为开发人员,我们非常享受这种内置的开发模板。
新时代——支持多窗口模式
升级到iOS 13后,系统开始支持多窗口模式,这在iPadOS上尤为显著。用户可以在一台设备的屏幕上同时享受至少两个App的视图内容。
AppDelegate对App管理权限的转移
我们提到之前的iOS App基于单视窗模式开发,我们通常不会额外添加新的window。因此,在这种情况下,AppDelegate成为了整个App生命周期的管理者。但是iOS 13之后,这个规则被打破,很多任务被转移给了UIWindowScene。
旧项目黑屏拯救
既然App的生命周期在转移,那么我们的App代码也需要进行迁移处理。
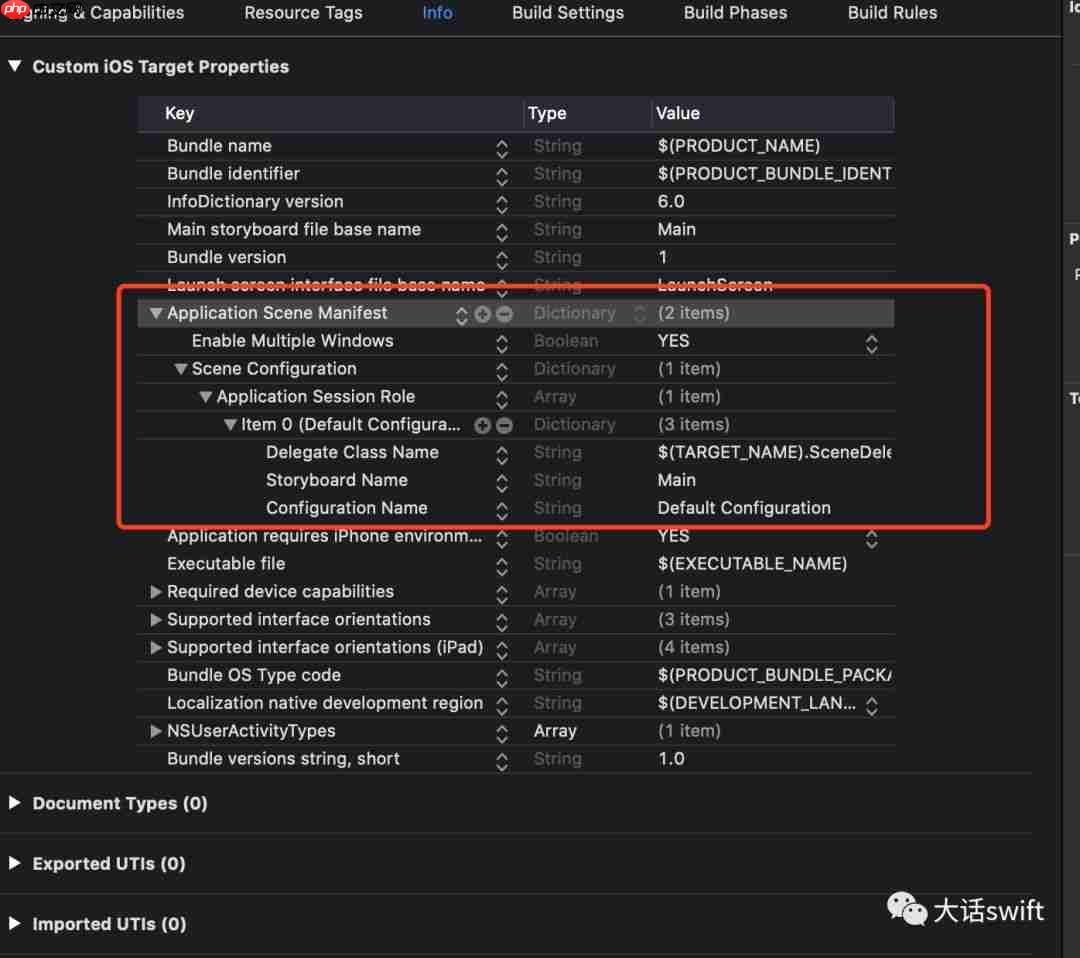
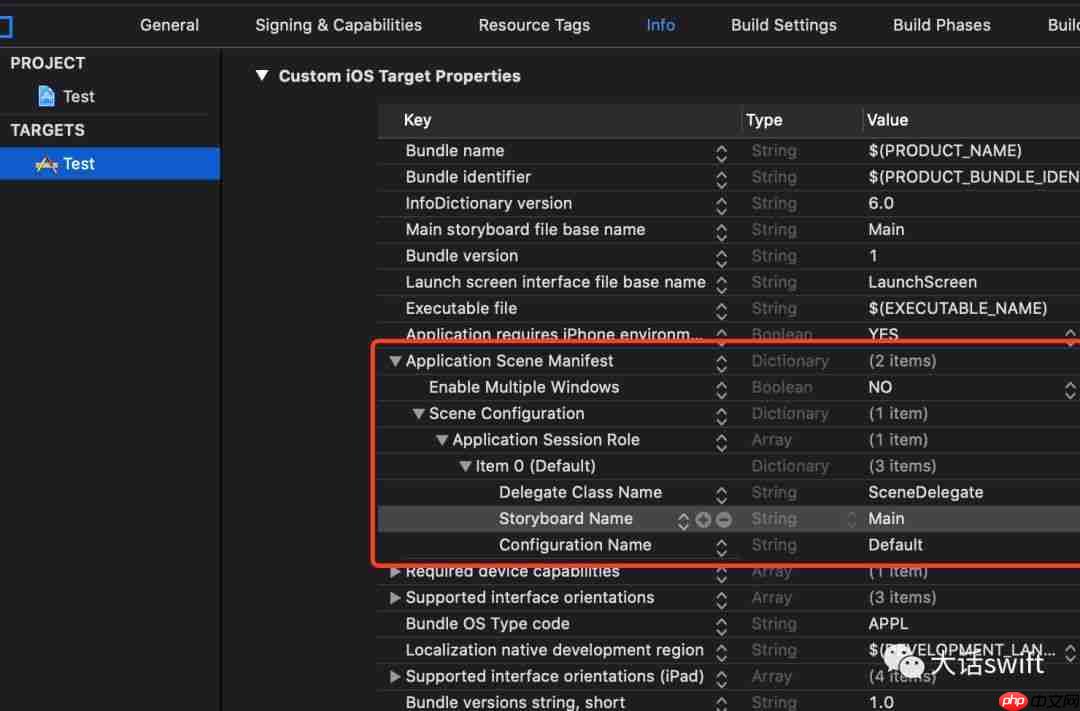
- Info.plist更改
    UIApplicationSupportsMultipleScenes

    UISceneConfigurations

        UIWindowSceneSessionRoleApplication


                UISceneDelegateClassName
                $(TARGET_NAME).SceneDelegate
                UISceneStoryboardFile
                Main
                UISceneConfigurationName
                Default Configuration
对于Swift来说,由于一般情况下...
OC项目配置

从plist配置来看,我们需要新建一个类来作为WindowScene的代理载体。
- 对AppDelegate的修改
OC版本
-(UISceneConfiguration *)application:(UIApplication *)application configurationForConnectingSceneSession:(UISceneSession *)connectingSceneSession options:(UISceneConnectionOptions *)options API_AVAILABLE(ios(13.0)){
    UISceneConfiguration * config = [[UISceneConfiguration alloc] initWithName:@"Default" sessionRole:connectingSceneSession.role];
    return config;
}
Swift版本
func application(_ application: UIApplication, configurationForConnecting connectingSceneSession: UISceneSession, options: UIScene.ConnectionOptions) -> UISceneConfiguration {
    return UISceneConfiguration(name: "Default Configuration", sessionRole: connectingSceneSession.role)
}从API_AVAILABLE(ios(13.0))的attribute可以看出,这个方法会在iOS 13上被调用,我们需要做好版本兼容。
- 新建的SceneDelegate载体
OC版本
 .m文件
.m文件
#import "SceneDelegate.h" #import "LoginViewController.h"@interface SceneDelegate()
@end
@implementation SceneDelegate
-(void)scene:(UIScene )scene willConnectToSession:(UISceneSession )session options:(UISceneConnectionOptions )connectionOptions API_AVAILABLE(ios(13.0)){ UIWindow aWindow = [[UIWindow alloc] initWithWindowScene:scene]; aWindow.rootViewController = [[LoginViewController alloc] init]; self.window = aWindow; [self.window makeKeyAndVisible]; AppDelegate *app = [UIApplication sharedApplication].delegate; [app setWindow:self.window]; }
@end
上篇文章我们分析到UIWindow的继承关系发生了变化,需要通过Scene来进行初始化。而Scene变化为Responder的子类,可以响应事件,不再是之前那个单纯的UIScene。
为了支持之前的代码,我们依然给AppDelegate一个window,但这已经不是之前项目中那个简单的window了。
Swift版本我们就不详细说了,代码逻辑依然是OC的。
class SceneDelegate: UIResponder, UIWindowSceneDelegate {
var window: UIWindow?func scene(_ scene: UIScene, willConnectTo session: UISceneSession, options connectionOptions: UIScene.ConnectionOptions) {
    var aWindow = UIWindow(windowScene: scene as! UIWindowScene)
    aWindow.rootViewController = LoginViewController()

    self.window = aWindow
    self.window?.makeKeyAndVisible()
    var app: AppDelegate = UIApplication.shared.delegate as! AppDelegate
    app.window = window
}}


