


搭建步骤:
-
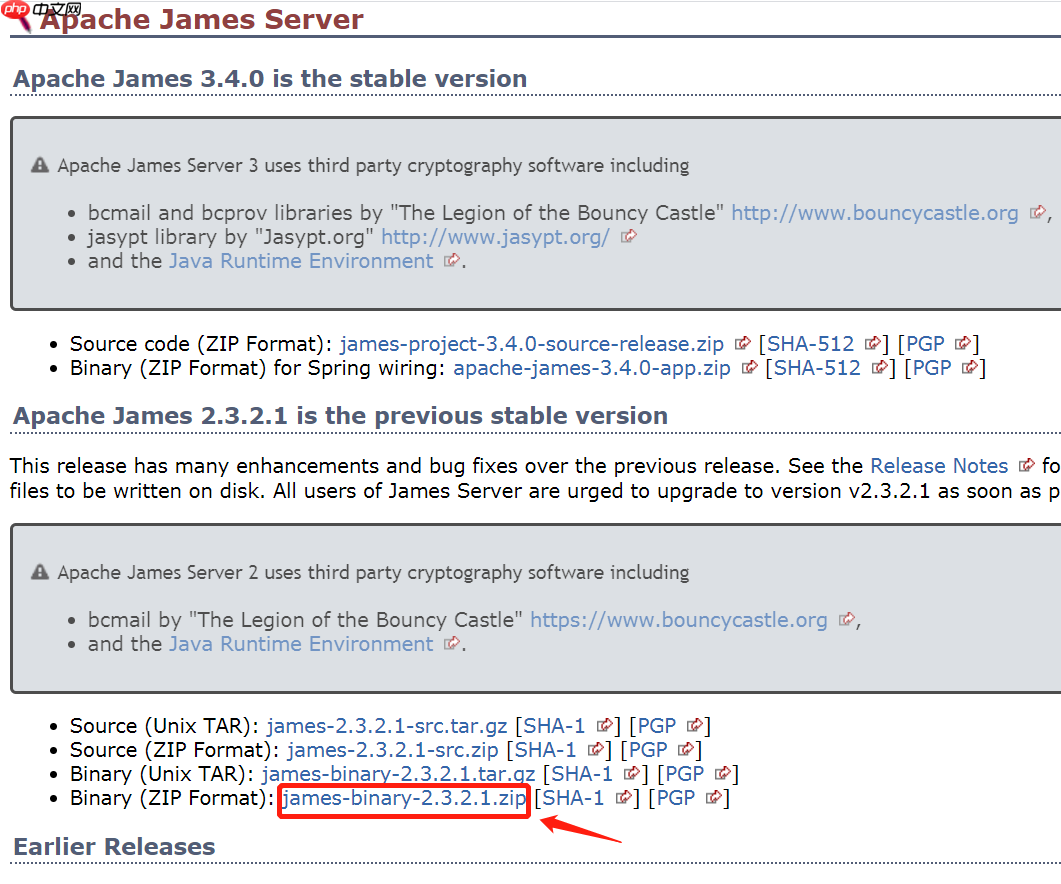
下载 Apache James 进入首页并点击下载按钮,进入下载页面。
-
解压并执行 将下载的文件解压到任意目录下,执行
\james-2.3.2.1\bin\run.bat
。首次执行会报错,并在\james-2.3.2.1\apps\james\SAR-INF\
文件夹下生成config.xml
文件。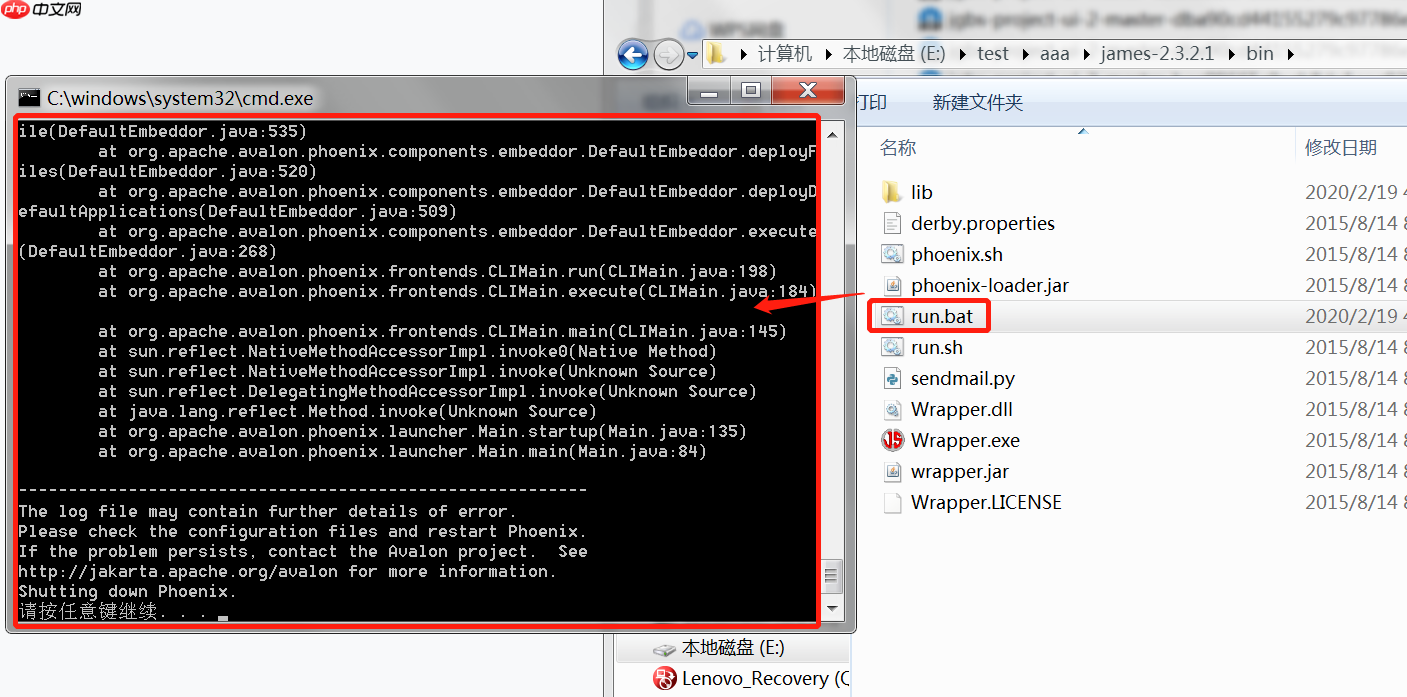
-
修改配置文件并启动服务 打开
\james-2.3.2.1\apps\james\SAR-INF\config.xml
,修改users-store
路径。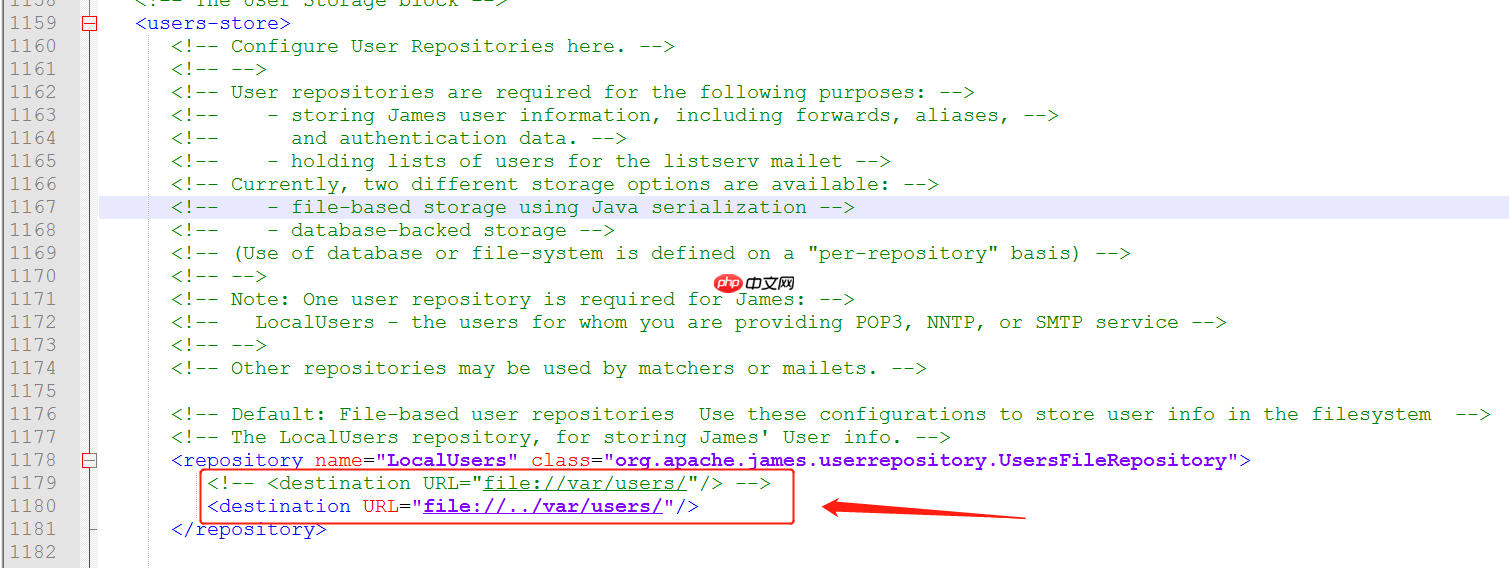
修改
root
用户的登录密码。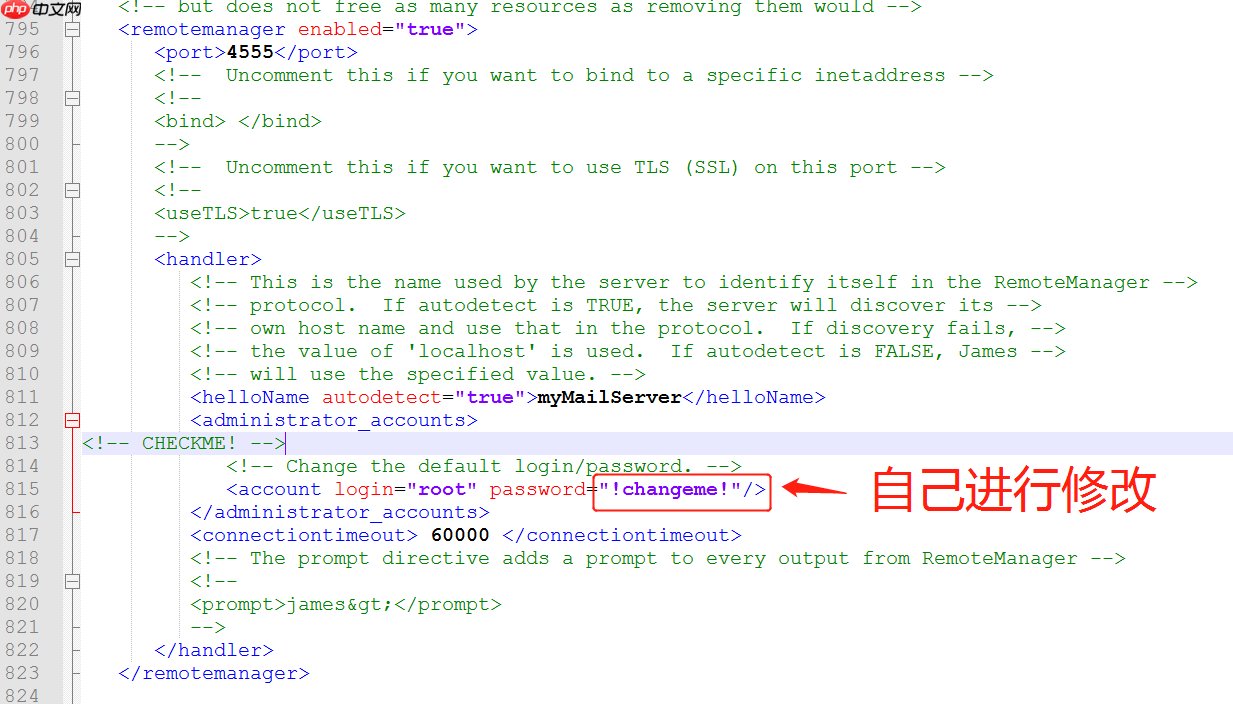
修改后再次执行
\james-2.3.2.1\bin\run.bat
,邮箱服务即可成功启动。
-
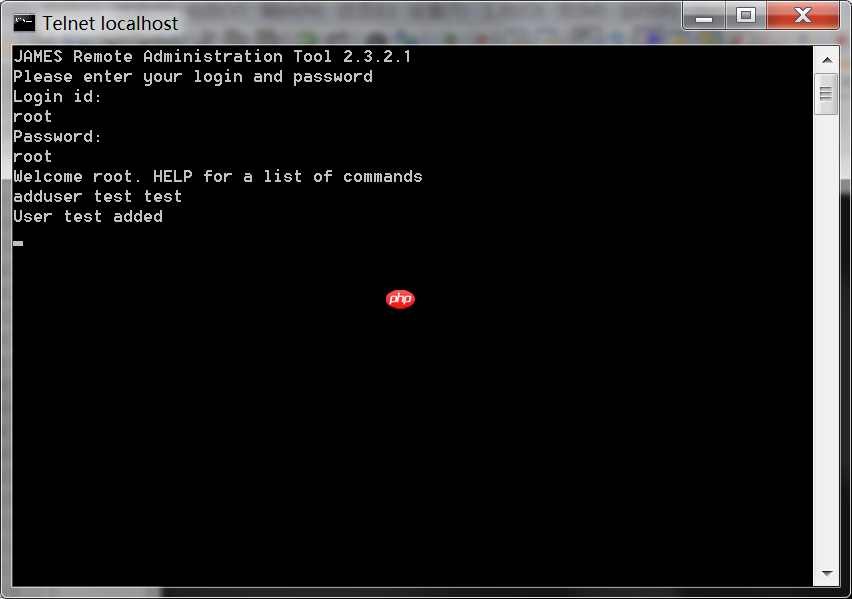
客户端连接并新建用户 在 Windows 上开启 Telnet 功能。

在命令行中连接 James 客户端:
> telnet localhost 4555
使用在配置文件中修改的用户名和密码登录,添加新用户:
> adduser admin admin
-
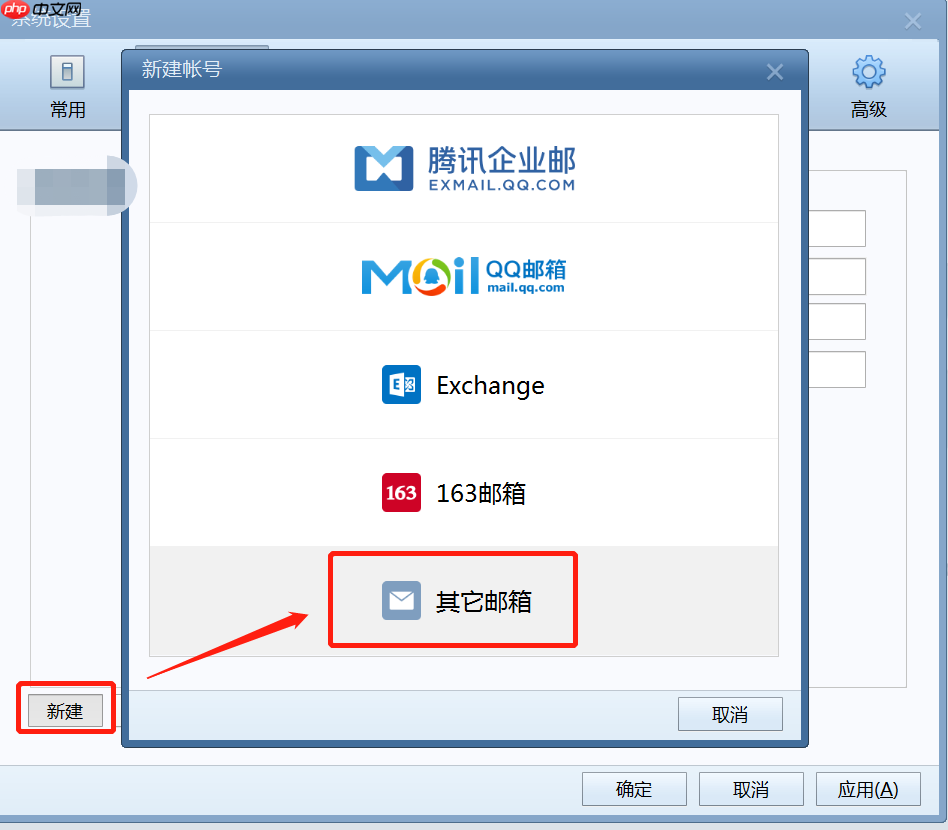
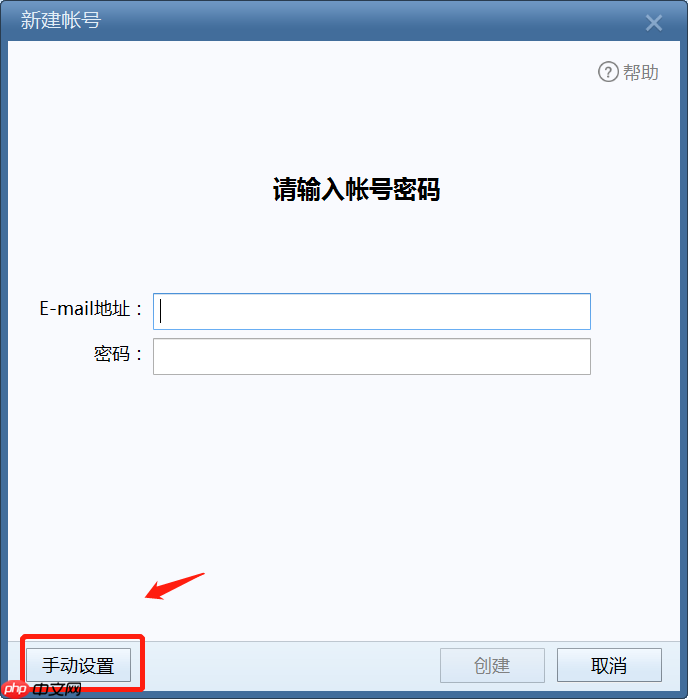
使用 Foxmail 进行连接 通过 Foxmail 连接邮箱服务。

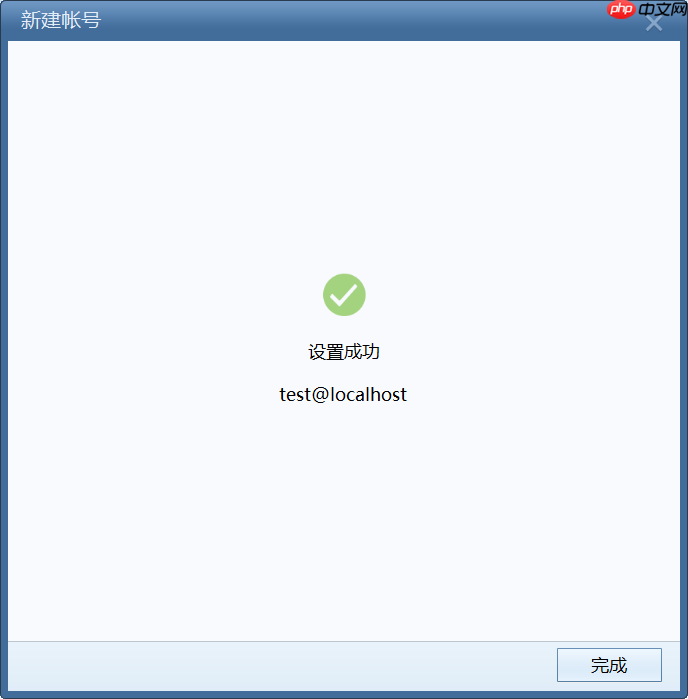

连接成功后,即可在内网中相互收发邮件。
-
拓展 在 Linux 环境下的搭建步骤基本一致。Windows 和 Linux 版本均可配置
servername
及hosts
以便其他人访问。使用 Java 和 Spring Mail 进行连接操作,
pom.xml
如下:org.springframework.boot spring-boot-starter-mail 配置文件
bootstrap.xml
如下:# bootstrap.xml spring: mail: host: localhost username: test password: test port: 25 protocol: smtp default-encoding: UTF-8详细配置请参见其他帖子。


