让我们通过一个实际的例子来体验一下如何在windows环境下使用caffe进行自定义网络层的开发。
首先,我们需要设置环境变量$PYTHONPATH。我在Windows开发环境中使用的是Windows PowerShell。如果您还没有编译Windows版本的Caffe,请自行解决。
添加环境变量的代码如下:
$env:PYTHONPATH="F:\caffe-python\python\;F:\caffe-windows\windows\install\python"
这里,F:\caffe-python\python 是我的新Layer的路径,而 F:\caffe-windows\windows\install\python 是我编译后的Caffe的安装路径。
接下来,我们编写自己的自定义Layer,称为TestLayer:
立即学习“Python免费学习笔记(深入)”;
import caffe
import numpy as np
<p>class TestLayer(caffe.Layer):
def setup(self, bottom, top):
if len(bottom) != 1:
raise Exception("Need one input to process.")</p><pre class="brush:php;toolbar:false;"><pre class="brush:php;toolbar:false;">def reshape(self, bottom, top):
    print("-----------------1---------------------")
    top[0].reshape(1)

def forward(self, bottom, top):
    top[0].data[...] = bottom[0].data
    print("-----------------2---------------------")

def backward(self, top, propagate_down, bottom):
    bottom[0].diff[...] = top[0].data
pass</code></pre><p>接下来,我们看一个官方提供的示例层,即<code>EuclideanLossLayer</code>,以便进行比较:</p><pre><code class="javascript">import caffeimport numpy as np
class EuclideanLossLayer(caffe.Layer): def setup(self, bottom, top): if len(bottom) != 2: raise Exception("Need two inputs to compute distance.")
<code>def reshape(self, bottom, top):
    if bottom[0].count != bottom[1].count:
        raise Exception("Inputs must have the same dimension.")
    self.diff = np.zeros_like(bottom[0].data, dtype=np.float32)
    top[0].reshape(1)

def forward(self, bottom, top):
    self.diff[...] = bottom[0].data - bottom[1].data
    top[0].data[...] = np.sum(self.diff**2) / bottom[0].num / 2.

def backward(self, top, propagate_down, bottom):
    for i in range(2):
        if not propagate_down[i]:
            continue
        if i == 0:
            sign = 1
        else:
            sign = -1
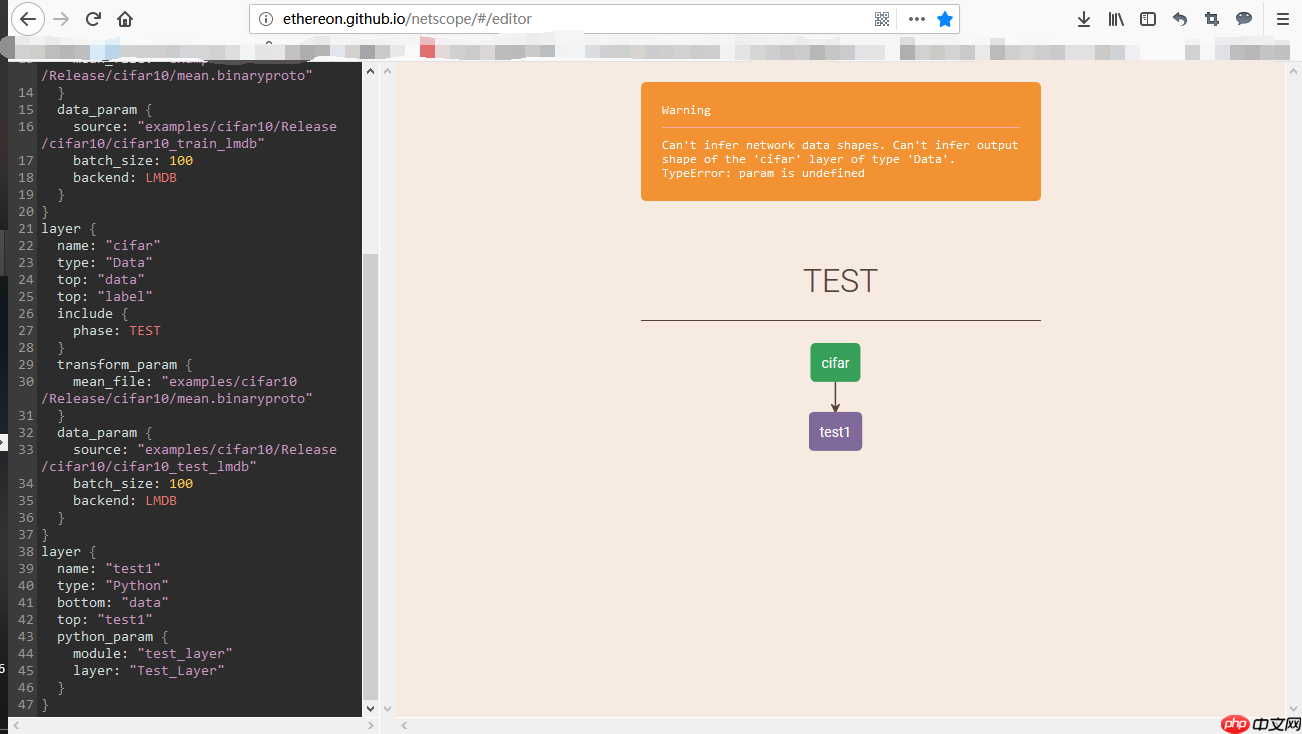
bottom[i].diff[...] = sign * self.diff / bottom[i].num</code></pre><p>完成Layer的编写后,我们需要定义网络结构:</p><pre><code class="javascript">name: "TEST"layer { name: "cifar" type: "Data" top: "data" top: "label" include { phase: TRAIN } transform_param { mean_file: "examples/cifar10/Release/cifar10/mean.binaryproto" } data_param { source: "examples/cifar10/Release/cifar10/cifar10_train_lmdb" batch_size: 100 backend: LMDB } } layer { name: "cifar" type: "Data" top: "data" top: "label" include { phase: TEST } transform_param { mean_file: "examples/cifar10/Release/cifar10/mean.binaryproto" } data_param { source: "examples/cifar10/Release/cifar10/cifar10_test_lmdb" batch_size: 100 backend: LMDB } } layer { name: "test1" type: "Python" bottom: "data" top: "test1" python_param { module: "test_layer" layer: "Test_Layer" } }
可视化后的网络结构如下图所示:

接下来,我们编写solver文件:
net: "F:/caffe-python/python/test_layer.prototxt"
base_lr: 0.001
lr_policy: "fixed"
max_iter: 10
solver_mode: CPU
然后,我们在PowerShell中启动Caffe。首先,切换到Caffe所在的目录,我的目录是这样的:
cd F:\Smart_Classroom\3rdparty\ALLPLATHFORM\caffe-windows\windows\examples\cifar10\Release
然后执行Caffe:
./caffe.exe train --solver=F:/caffe-python/python/test_python_layer_solver.prototxt
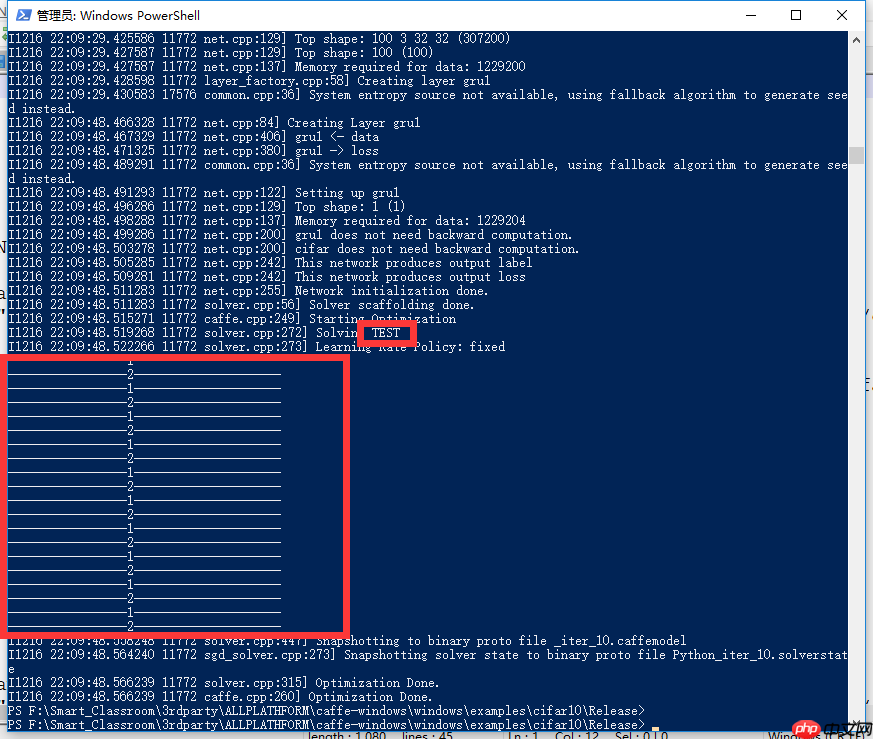
执行结果如下图所示:

在前向和后向传播过程中,我们成功调用了两个print语句,标志着我们成功编写了自己的Caffe层。
注意:编写时请严格注意路径,否则可能会出现如下错误:

以上就是Caffe-Python-自定义网络 原的详细内容,更多请关注php中文网其它相关文章!

每个人都需要一台速度更快、更稳定的 PC。随着时间的推移,垃圾文件、旧注册表数据和不必要的后台进程会占用资源并降低性能。幸运的是,许多工具可以让 Windows 保持平稳运行。

Copyright 2014-2025 https://www.php.cn/ All Rights Reserved | php.cn | 湘ICP备2023035733号