在开发ar、vr或教育类产品时,许多开发者在windows平台上构建稳定且低延迟的rtsp或rtmp播放器时遇到了挑战。如果从头开始在unity3d中开发一个播放器,成本高且周期长,不适合快速推出产品。我们建议的最佳方法是集成现有的native平台上成熟且稳定的播放器,并将rgb/yuv数据回调到上层,然后在上层进行绘制。
不浪费时间了,以Windows平台上的多路播放为例:
public void Play(int sel) { if (videoctrl[sel].is_running) { Debug.Log("已经在播放.."); return; } lock (videoctrl[sel].frame_lock_) { videoctrl[sel].cur_video_frame_ = null; } OpenPlayer(sel); if (videoctrl[sel].player_handle_ == IntPtr.Zero) return; //设置播放URL NTSmartPlayerSDK.NT_SP_SetURL(videoctrl[sel].player_handle_, videoctrl[sel].videoUrl); /* ++ 播放前参数配置可加在此处 ++ */ int play_buffer_time_ = 100; NTSmartPlayerSDK.NT_SP_SetBuffer(videoctrl[sel].player_handle_, play_buffer_time_); //设置buffer time int is_using_tcp = 0; //TCP模式 NTSmartPlayerSDK.NT_SP_SetRTSPTcpMode(videoctrl[sel].player_handle_, is_using_tcp); int timeout = 10; NTSmartPlayerSDK.NT_SP_SetRtspTimeout(videoctrl[sel].player_handle_, timeout); int is_auto_switch_tcp_udp = 1; NTSmartPlayerSDK.NT_SP_SetRtspAutoSwitchTcpUdp(videoctrl[sel].player_handle_, is_auto_switch_tcp_udp); Boolean is_mute_ = false; NTSmartPlayerSDK.NT_SP_SetMute(videoctrl[sel].player_handle_, is_mute_ ? 1 : 0); //是否启动播放的时候静音 int is_fast_startup = 1; NTSmartPlayerSDK.NT_SP_SetFastStartup(videoctrl[sel].player_handle_, is_fast_startup); //设置快速启动模式 Boolean is_low_latency_ = false; NTSmartPlayerSDK.NT_SP_SetLowLatencyMode(videoctrl[sel].player_handle_, is_low_latency_ ? 1 : 0); //设置是否启用低延迟模式 //设置旋转角度(设置0, 90, 180, 270度有效,其他值无效) int rotate_degrees = 0; NTSmartPlayerSDK.NT_SP_SetRotation(videoctrl[sel].player_handle_, rotate_degrees);int volume = 100;NTSmartPlayerSDK.NT_SP_SetAudioVolume(videoctrl[sel].player_handle_, volume);//设置播放音量, 范围是[0, 100], 0是静音,100是最大音量, 默认是100 // 设置上传下载报速度 int is_report = 0; int report_interval = 1; NTSmartPlayerSDK.NT_SP_SetReportDownloadSpeed(videoctrl[sel].player_handle_, is_report, report_interval); /* -- 播放前参数配置可加在此处 -- */ //video frame callback (YUV/RGB) videoctrl[sel].video_frame_call_back_ = new SP_SDKVideoFrameCallBack(NT_SP_SetVideoFrameCallBack); NTSmartPlayerSDK.NT_SP_SetVideoFrameCallBack(videoctrl[sel].player_handle_, (Int32)NT.NTSmartPlayerDefine.NT_SP_E_VIDEO_FRAME_FORMAT.NT_SP_E_VIDEO_FRAME_FROMAT_I420, window_handle_, videoctrl[sel].video_frame_call_back_); UInt32 flag = NTSmartPlayerSDK.NT_SP_StartPlay(videoctrl[sel].player_handle_); if (flag == DANIULIVE_RETURN_OK) { videoctrl[sel].is_need_get_frame_ = true; Debug.Log("播放成功"); } else { videoctrl[sel].is_need_get_frame_ = false; Debug.LogError("播放失败"); } videoctrl[sel].is_running = true; } private void SDKVideoFrameCallBack(UInt32 status, IntPtr frame, int sel) { //这里拿到回调frame,进行相关操作 NT_SP_VideoFrame video_frame = (NT_SP_VideoFrame)Marshal.PtrToStructure(frame, typeof(NT_SP_VideoFrame)); VideoFrame u3d_frame = new VideoFrame(); u3d_frame.width_ = video_frame.width_; u3d_frame.height_ = video_frame.height_; u3d_frame.timestamp_ = (UInt64)video_frame.timestamp_; int d_y_stride = video_frame.width_; int d_u_stride = (video_frame.width_ + 1) / 2; int d_v_stride = d_u_stride; int d_y_size = d_y_stride * video_frame.height_; int d_u_size = d_u_stride * ((video_frame.height_ + 1) / 2); int d_v_size = d_u_size; int u_v_height = ((u3d_frame.height_ + 1) / 2); u3d_frame.y_stride_ = d_y_stride; u3d_frame.u_stride_ = d_u_stride; u3d_frame.v_stride_ = d_v_stride; u3d_frame.y_data_ = new byte[d_y_size]; u3d_frame.u_data_ = new byte[d_u_size]; u3d_frame.v_data_ = new byte[d_v_size]; CopyFramePlane(u3d_frame.y_data_, d_y_stride, video_frame.plane0_, video_frame.stride0_, u3d_frame.height_); CopyFramePlane(u3d_frame.u_data_, d_u_stride, video_frame.plane1_, video_frame.stride1_, u_v_height); CopyFramePlane(u3d_frame.v_data_, d_v_stride, video_frame.plane2_, video_frame.stride2_, u_v_height); lock (videoctrl[sel].frame_lock_ ) { videoctrl[sel].cur_video_frame_ = u3d_frame; //Debug.LogError("sel: " + sel + " w:" + u3d_frame.width_ + "h:" + u3d_frame.height_); } } private void UpdateYUVTexture(VideoFrame video_frame, int sel) { if (video_frame.y_data_ == null || video_frame.u_data_ == null || video_frame.v_data_ == null) { Debug.Log("video frame with null.."); return; } if (videoctrl[sel].yTexture_ != null) { videoctrl[sel].yTexture_.LoadRawTextureData(video_frame.y_data_); videoctrl[sel].yTexture_.Apply(); } if (videoctrl[sel].uTexture_ != null) { videoctrl[sel].uTexture_.LoadRawTextureData(video_frame.u_data_); videoctrl[sel].uTexture_.Apply(); } if (videoctrl[sel].vTexture_ != null) { videoctrl[sel].vTexture_.LoadRawTextureData(video_frame.v_data_); videoctrl[sel].vTexture_.Apply(); } }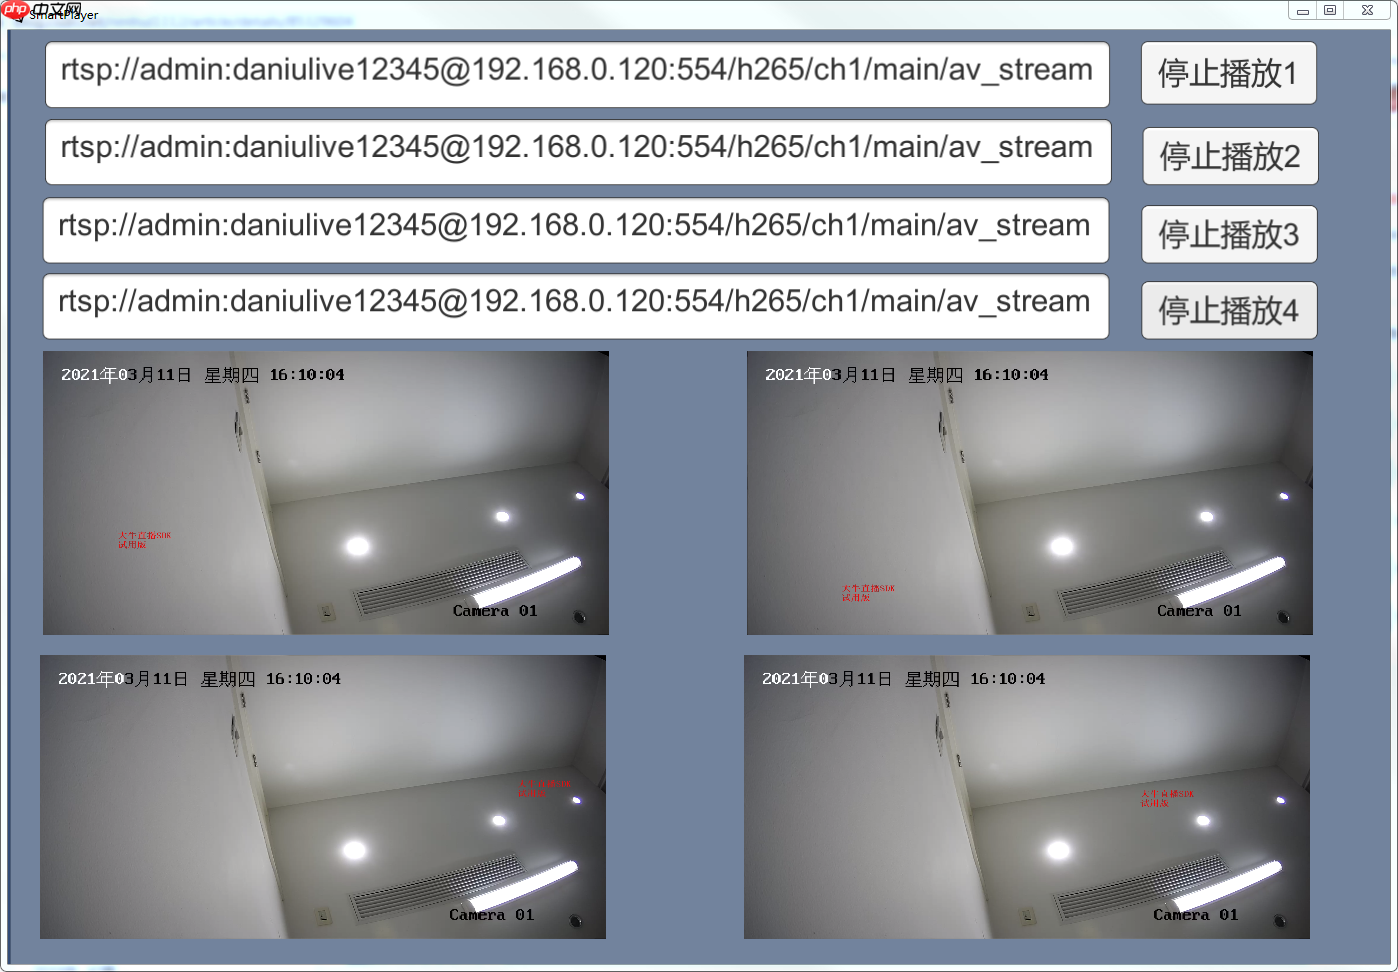
总结:在Unity3d中实现多路播放,首先要确保调用的拉流解码数据模块具备回调yuv/rgb数据的能力。回调后,上层直接刷新显示即可。其实并没有你想象的那么复杂。
以上就是如何在Unity3d实现多路RTSP或RTMP流播放的详细内容,更多请关注php中文网其它相关文章!

每个人都需要一台速度更快、更稳定的 PC。随着时间的推移,垃圾文件、旧注册表数据和不必要的后台进程会占用资源并降低性能。幸运的是,许多工具可以让 Windows 保持平稳运行。

 广告
广告


Copyright 2014-2025 https://www.php.cn/ All Rights Reserved | php.cn | 湘ICP备2023035733号


 340
340