


PHPStudy配置虚拟主机需三步:一、修改hosts文件绑定域名到127.0.0.1;二、在httpd-vhosts.conf中添加VirtualHost块并设置DocumentRoot与ServerName;三、取消httpd.conf中vhosts引用注释后重启Apache服务。

在 PHPStudy 中配置虚拟主机,主要是为了让本地能同时运行多个网站(比如 site1.test、site2.test),每个站点对应独立的域名和项目目录。关键在于三步联动:修改 hosts 文件绑定域名、配置 Apache/Nginx 的虚拟主机规则、重启服务生效。
一、添加本地域名解析(改 hosts 文件)
让浏览器把自定义域名指向本机(127.0.0.1),这是访问的前提。
- 用记事本(需管理员权限)打开:C:\Windows\System32\drivers\etc\hosts
- 在文件末尾另起一行,添加(可多行):
127.0.0.1 site1.test
127.0.0.1 site2.test - 保存后无需重启,但建议清空浏览器 DNS 缓存(或直接用无痕窗口测试)
二、配置 Apache 虚拟主机(推荐新手用 Apache)
PHPStudy 默认用 Apache,配置文件路径为:PHPServer\Apache\conf\extra\httpd-vhosts.conf
- 用文本编辑器打开该文件,在末尾添加如下结构(每站点一个
块):
    ServerAdmin webmaster@localhost
    DocumentRoot "D:/www/site1"     # 你的第一个站点根目录
    ServerName site1.test

        Options Indexes FollowSymLinks
        AllowOverride All
        Require all granted


ServerAdmin webmaster@localhost
DocumentRoot "D:/www/site2"     # 第二个站点目录
ServerName site2.test

Options Indexes FollowSymLinks
AllowOverride All
Require all granted
- 确保 DocumentRoot 路径真实存在,且有 index.php 或 index.html
- 如果用了 .htaccess 重写(如 ThinkPHP、Laravel),AllowOverride All 必须开启
三、启用虚拟主机并重启服务
光写配置不生效,还要确认 Apache 已加载 vhosts 文件。
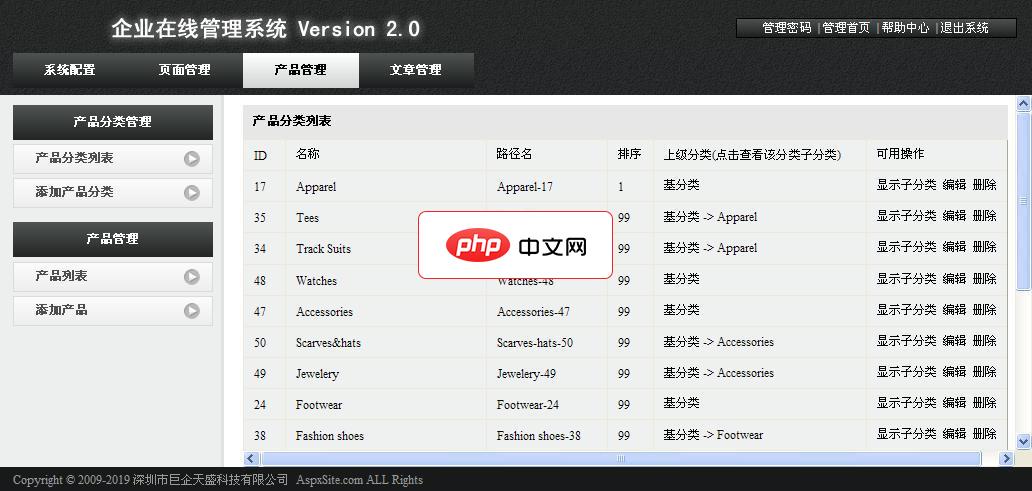
AspxSite企业建站系统0.9 测试版
下载
AspxSite企业建站系统后台模块 系统配置,页面管理,产品管理,文章管理 将程序解压并上传至支持Asp.net 2.0的虚拟主机根目录或子目录,再通过网址/admin访问后台, 根据需要进行设置即可。后台默认账户密码:admin和admin888
立即学习“PHP免费学习笔记(深入)”;
- 打开:PHPServer\Apache\conf\httpd.conf
- 搜索 #Include conf/extra/httpd-vhosts.conf,去掉前面的 # 号(取消注释)
- 回到 PHPStudy 主界面,点击「Apache」右侧的「重启」按钮
- 打开浏览器,访问 http://site1.test 和 http://site2.test 测试
四、Nginx 用户注意(若切换为 Nginx)
Nginx 配置位置不同,且语法更简洁:
- 配置文件路径:PHPServer\Nginx\conf\vhost\*.conf(建议新建 site1.conf、site2.conf)
- 示例(site1.conf):
server {
    listen       80;
    server_name  site1.test;
    root   "D:/www/site1";
    location / {
        index  index.php index.html error/index.html;
        if (!-e $request_filename) {
            rewrite ^(.*)$ /index.php?s=$1 last;
        }
    }
    location ~ \.php(.*)$ {
        fastcgi_pass   127.0.0.1:9000;
        fastcgi_index  index.php;
        fastcgi_split_path_info  ^((?U).+\.php)(/?.+)$;
        fastcgi_param  SCRIPT_FILENAME  $document_root$fastcgi_script_name;
        fastcgi_param  PATH_INFO  $fastcgi_path_info;
        fastcgi_param  PATH_TRANSLATED  $document_root$fastcgi_path_info;
        include        fastcgi_params;
    }
}- 保存后,在 PHPStudy 中重启 Nginx 即可
- 注意:Nginx 不读取 httpd-vhosts.conf,只认 vhost 目录下的 .conf 文件


