这次给大家带来react实现点击选中的li高亮步骤详解,react实现点击选中的li高亮注意事项有哪些,下面就是实战案例,一起来看一下。
虽然只是一个简单的功能,还是记录一下比较好。页面上有很多个li,要实现点击到哪个就哪个高亮。当年用jq的时候,也挺简单的,就是选中的元素给addClass,然后它的兄弟元素removeClass,再写个active的样式就搞定了。那现在用react要实现类似的操作,我想到的就是用一个currentIndex,通过判断currentIndex在哪个元素实现切换。
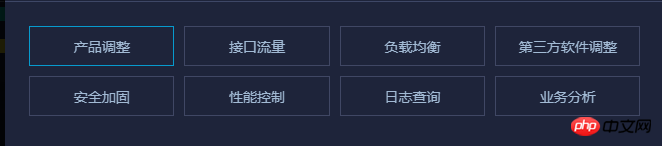
先上一下效果图:
代码:
  class Category extends React.Component {
  constructor(props) {
    super(props)
    this.state = {
      currentIndex: 0
    }
    this.setCurrentIndex = this.setCurrentIndex.bind(this)
  }
  setCurrentIndex(event) {
    this.setState({
      currentIndex: parseInt(event.currentTarget.getAttribute('index'), 10)
    })
  }
  render() {
    let categoryArr = ['产品调整', '接口流量', '负载均衡', '第三方软件调整',
              '安全加固', '性能控制', '日志查询', '业务分析'];
    let itemList = [];
    for(let i = 0; i < categoryArr.length; i++) {
      itemList.push(<li key={i}
               className={this.state.currentIndex === i ? 'active' : ''}
               index={i} onClick={this.setCurrentIndex}
             >{categoryArr[i]}</li>);
    }
    return <ul className="category">{itemList}</ul>
  }
}css部分
   .category {
      padding-left: 0;
      &:after {
        content: '';
        display: block;
        clear: both;
      }
      li {
        float: left;
        width: 23%;
        height: 40px;
        margin-right: 10px;
        margin-bottom: 10px;
        border: 1px solid $border-color;
        list-style: none;
        color: $font-color;
        line-height: 40px;
        text-align: center;
        font-size: 14px;
        cursor: pointer;
        &.active {
          border-color: #079ACD;
        }
}是不是很简单呢。就是在生成这些li的时候给元素添加一个index标志位,然后点击的时候,把这个index用event.currentTarget.getAttribute('index')取出来,然后去设置currentIndex的值,再写一写css的active样式就搞定了。
相信看了本文案例你已经掌握了方法,更多精彩请关注php中文网其它相关文章!
推荐阅读:
以上就是react实现点击选中的li高亮步骤详解的详细内容,更多请关注php中文网其它相关文章!

每个人都需要一台速度更快、更稳定的 PC。随着时间的推移,垃圾文件、旧注册表数据和不必要的后台进程会占用资源并降低性能。幸运的是,许多工具可以让 Windows 保持平稳运行。

Copyright 2014-2025 https://www.php.cn/ All Rights Reserved | php.cn | 湘ICP备2023035733号


 395
395