


这篇文章主要介绍了angularjs实现的锚点楼层跳转功能,涉及angularjs事件响应实现锚点跳转功能的相关操作技巧,需要的朋友可以参考下
本文实例讲述了AngularJS实现的锚点楼层跳转功能。分享给大家供大家参考,具体如下:
anchor
{{attr}}
- {{attr}}
运行效果如下:
点击锚点2:
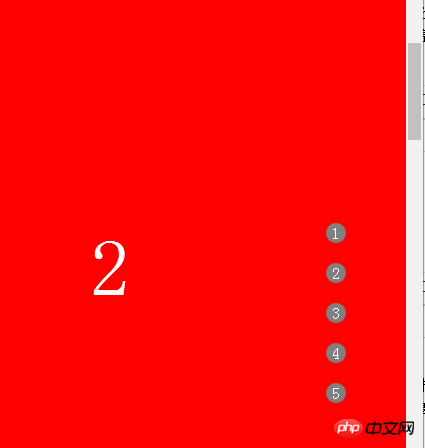
点击锚点3:


上面是我整理给大家的,希望今后会对大家有帮助。
相关文章:


0


0
亚连
发布时间:2018-06-14 11:29:54
|1942人浏览过
|来源于php中文网
原创
这篇文章主要介绍了angularjs实现的锚点楼层跳转功能,涉及angularjs事件响应实现锚点跳转功能的相关操作技巧,需要的朋友可以参考下
本文实例讲述了AngularJS实现的锚点楼层跳转功能。分享给大家供大家参考,具体如下:
anchor
{{attr}}
运行效果如下:
点击锚点2:
点击锚点3:
上面是我整理给大家的,希望今后会对大家有帮助。
相关文章:
相关文章
解决AngularJS中动态DOM元素查找的定时问题
解决AngularJS中动态DOM元素查找的“一次性”问题
Node-RED UI模板中标签内动态数据处理指南
angularjs和vue的区别
JavaScript数据绑定_双向绑定与脏检查机制
本站声明:本文内容由网友自发贡献,版权归原作者所有,本站不承担相应法律责任。如您发现有涉嫌抄袭侵权的内容,请联系admin@php.cn
热门AI工具
相关专题

本专题系统讲解 Java 项目构建与依赖管理的完整体系,重点覆盖 Maven 与 Gradle 的核心概念、项目生命周期、依赖冲突解决、多模块项目管理、构建加速与版本发布规范。通过真实项目结构示例,帮助学习者掌握 从零搭建、维护到发布 Java 工程的标准化流程,提升在实际团队开发中的工程能力与协作效率。
10
2026.01.12


热门下载
精品课程
最新文章
Copyright 2014-2026 https://www.php.cn/ All Rights Reserved | php.cn | 湘ICP备2023035733号


