
Vue中的插槽相信使用过Vue的小伙伴或多或少的都用过,但是你是否了解它全部用法呢?本篇文章就为大家带来Vue3中插槽的全部用法来帮助大家查漏补缺。(学习视频分享:vue视频教程)
简单来说就是子组件中的提供给父组件使用的一个坑位,用<slot></slot> 表示,父组件可以在这个坑位中填充任何模板代码然后子组件中<slot></slot>就会被替换成这些内容。比如一个最简单插槽例子
//父组件
<template>
  <div>
    <Child>Hello Juejin</Child>
  </div>
</template>
<script setup>
import Child from './Child.vue'
</script>

//子组件Child
<template>
    <div>
        <p>1</p>
        <slot />
        <p>2</p>
    </div>
</template>子组件中的<slot /> 便是父组件放在子组件标签<Child>之间的内容。当然这之间你可以传入任何代码片段,都会被放到<slot />这个位置。
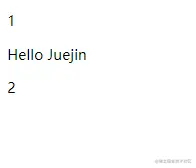
立即学习“前端免费学习笔记(深入)”;
同样的你也可以在标签<Child>之间放入变量,比如
//父组件
<template>
  <div>
    <Child>{{ msg }}</Child>
  </div>
</template>
<script setup>
import { ref } from 'vue'
import Child from './Child.vue'
const msg = ref('Hello Juejin')
</script>先解释一下后面频繁出现的两个词 插槽和插槽内容,防止后面阅读搞混了:
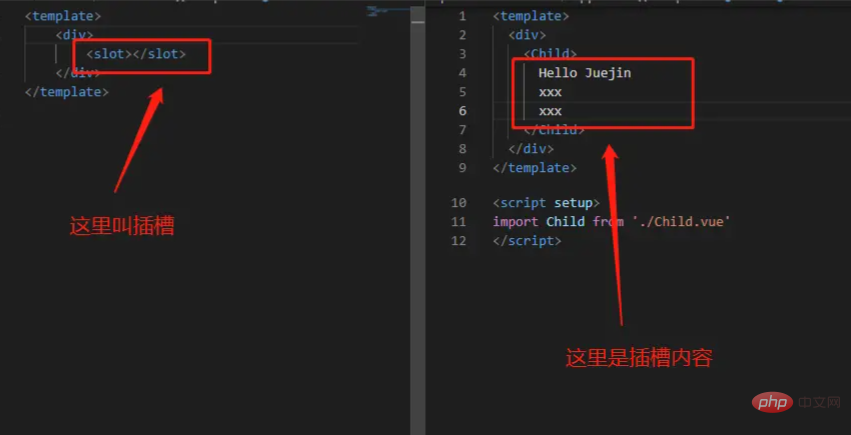
同样的 插槽表示的就是这个msg变量。所以子组件 插槽是可以访问到父组件的数据作用域,而插槽内容是无法访问子组件的数据(即父组件中两个<Child>之间是不能使用子组件中的数据的),这就是所谓的渲染作用域。后面会介绍插槽向插槽内容传参的方式
在父组件没有提供任何插槽内容的时候,我们是可以为子组件的插槽指定默认内容的,比如
//子组件
<template>
    <div>
        <slot>我是默认内容</slot>
    </div>
</template>

//父组件1
<template>
  <div>
    <Child></Child>
  </div>
</template>
<script setup>
import Child from './Child.vue'
</script>

//父组件2
<template>
  <div>
    <Child>Hello Juejin</Child>
  </div>
</template>
<script setup>
import Child from './Child.vue'
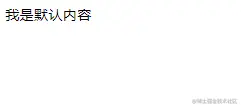
</script>此时父组件1展示默认内容
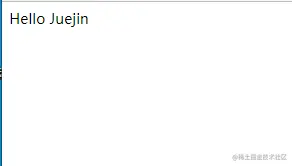
父组件2展示提供的内容
很多时候一个 插槽满足不了我们的需求,我们需要多个 插槽。于是就有了具名插槽,就是具有名字的 插槽。简单来说这个具名插槽的目的就是让一个萝卜一个坑,让它们呆在该呆的位置去。比如带 name 的插槽 <slot name="xx">被称为具名插槽。没有提供 name 的 <slot> 会隐式地命名为“default”。在父组件中可以使用v-slot:xxx(可简写为#xxx) 指令的 <template> 元素将目标插槽的名字传下去匹配对应 插槽。比如
//子组件

<template>
    <div>
        <!-- 大萝卜 -->
        <div>
            <slot name="bigTurnip"></slot>
        </div>
        <!-- 小萝卜 -->
        <div>
            <slot name="smallTurnip"></slot>
        </div>
        <!-- 中萝卜 -->
        <div>
            <slot name="midTurnip"></slot>
        </div>
    </div>
</template>

//父组件

<template>
  <div>
    <Child>
      <!-- #smallTurnip 为v-slot:smallTurnip缩写 -->
      <template #smallTurnip>
        小萝卜
      </template>
      <template #midTurnip>
        中萝卜
      </template>
      <template #bigTurnip>
        大萝卜
      </template>
    </Child>
  </div>
</template>
<script setup>
import Child from './Child.vue'
</script>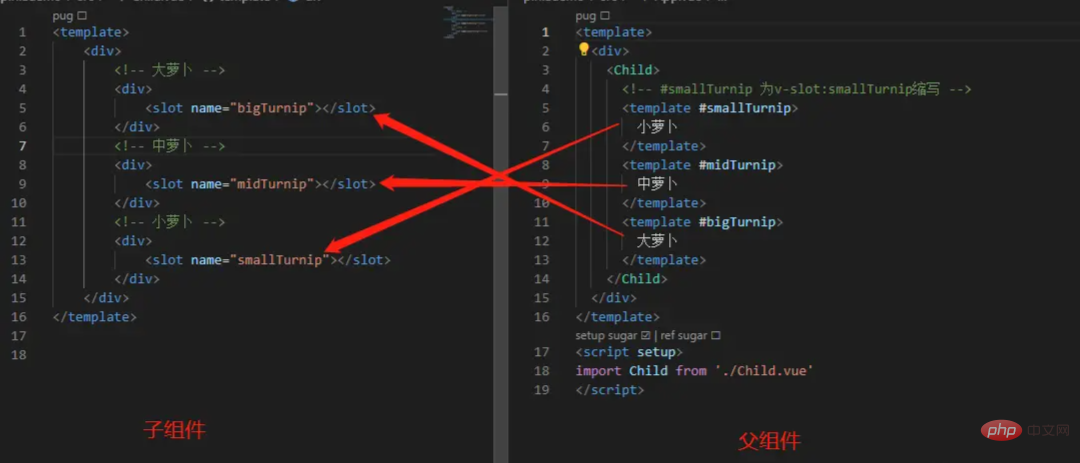
所以父组件中无需在意顺序,只需要写好模板命好名,它就会自动去到它所对应的位置。
动态插槽名就是插槽名变成了变量的形式,我们可以随时修改这个变量从而展示不同的效果。它的写法是v-slot:[变量名]或者缩写为#[变量名]。
//父组件
<template>
  <div>
    <Child>
      <!-- 等同于#smallTurnip -->
      <template #[slotName]>
        小萝卜
      </template>
      <template #midTurnip>
        中萝卜
      </template>
      <template #bigTurnip>
        大萝卜
      </template>
    </Child>
  </div>
</template>
<script setup>
import { ref } from 'vue'
import Child from './Child.vue'
const slotName = ref('smallTurnip')
</script>上面说过插槽内容是无法访问子组件的数据的,但是如果我们想在插槽内容访问子组件的状态该怎么办呢?
其实插槽可以像对组件传递 props 那样,在slot标签绑定属性从而传递给父组件中的插槽内容。首先来看下默认插槽的传值方式
//子组件
<template>
    <div>
        <slot personName="xiaoyue" age="18"></slot>
    </div>
</template>

//父组件

<template>
  <div>
    <Child v-slot="slotProps">
      My name is {{ slotProps.personName }} and I am {{ slotProps.age }} years old this year
    </Child>
  </div>
</template>
<script setup>
import Child from './Child.vue'
</script>你还可以以结构的形式获取slot提供的数据
<template>
  <div>
    <Child v-slot="{ personName, age }">
      My name is {{ personName }} and I am {{ age }} years old this year
    </Child>
  </div>
</template>
注意不能绑定name属性,因为你绑定了name它就成了具名插槽了。同样具名插槽中的name属性也不会传递给插槽内容。因为传递的参数只能在插槽内容中使用,所以这类能够接受参数的插槽就被称为了作用域插槽。
下面再看下具名作用域插槽它的传参方式。它接收参数的方式是通过template标签的指令v-slot的值获取的,所以可以缩写成这样
//父组件
<template>
  <div>
    <Child>
      <template #bigTurnip="bigTurnipProps">
        {{ bigTurnipProps.message }}
      </template>
    </Child>
  </div>
</template>
<script setup>
import Child from './Child.vue'
</script>

//子组件Child.vue

<template>
    <div>
        <!-- 大萝卜 -->
        <div>
            <slot name="bigTurnip" message="我是萝北"></slot>
        </div>
    </div>
</template>
这类插槽便是具名作用域插槽啦
到这里插槽(slot)的全部用法基本就已经介绍完啦。如果感觉对你有用的话赶紧点赞收藏吧!
以上就是什么是插槽(slot)?聊聊Vue3中插槽的使用方法的详细内容,更多请关注php中文网其它相关文章!

每个人都需要一台速度更快、更稳定的 PC。随着时间的推移,垃圾文件、旧注册表数据和不必要的后台进程会占用资源并降低性能。幸运的是,许多工具可以让 Windows 保持平稳运行。


Copyright 2014-2025 https://www.php.cn/ All Rights Reserved | php.cn | 湘ICP备2023035733号