


SpringBoot2新特性 自定义端点
package com.yan.otlan.springboot;
import org.springframework.boot.actuate.endpoint.annotation.Endpoint;
import org.springframework.boot.actuate.endpoint.annotation.ReadOperation;
import org.springframework.boot.actuate.endpoint.annotation.Selector;
import org.springframework.stereotype.Component;
@Endpoint(id = "customPoint")
@Component
public class StatusEndPoint {
	@ReadOperation
	public String getCustom(@Selector String name) {
		return "MyName is ." + name;
	}
}
只需要三个注解 @endpoint、@ReadOperation、@Selector
启动springboot项目

看到红色mapped就说明可以成功了
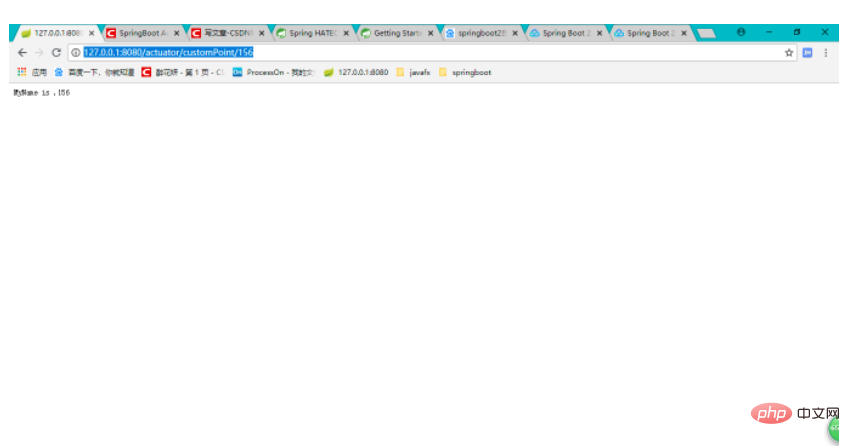
访问http://127.0.0.1:8080/actuator/customPoint/156
结果
SpringBoot-Actuator-自定义端点属性
关闭所有端点
management.endpoints.enabled-by-default: false
修改访问项目路径
默认访问路径为/actuator,可通过修改以下属性进行修改

培训招生教育类网站模板(响应式)1.4.2
下载
培训招生教育类网站模板(响应式)安装即用,自带人人站CMS内核,支持响应式,前端banner轮播图文本均已进行可视化配置,伪静态页面生成,支持内容模型、多语言、自定义表单、筛选、多条件搜索等功能,支持多种URL模式及模型。模板特点:1、安装即用,自带人人站CMS内核及企业站展示功能(产品,新闻,案例展示等),并可根据需要增加表单 搜索等功能(自带模板) 2、支持响应式 3、前端banner轮播图文
management.endpoints.web.base-path: /actuator
如默认访问路径为 http://ip:port/actuator
如想将访问路径修改为 http://ip:port/myActuator
可将属性设置为 /myActuator
路径必须以/开始,否则无法访问


