进入 /usr/local/nginx/conf
sudo cd /usr/local/nginx/conf
创建 vhost 目录
sudo mkdir vhost
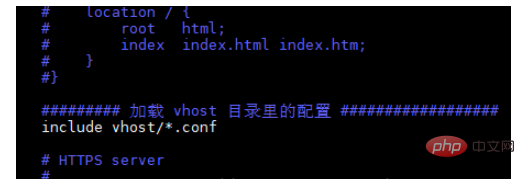
修改 nginx.conf 文件
sudo cp nginx.conf nginx.conf_back
sudo vim nginx.conf
设置访问机器的 hosts 文件,以便模拟访问,我这里使用的机器是 windows 10,hosts 文件在 c:\windows\system32\drivers\etc 文件夹下。

创建端口代理配置文件
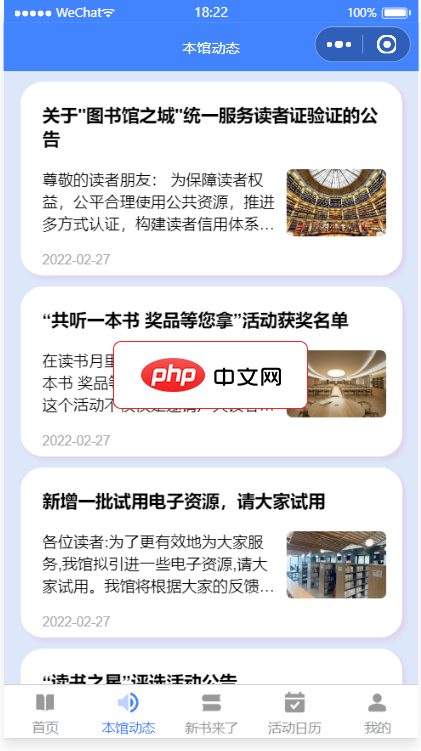
前后端完整代码包括本馆动态,新书来了,书籍榜单,服务指南,进馆预约,活动讲座预约等功能,采用腾讯提供的小程序云开发解决方案,无须服务器和域名 预约管理:开始/截止时间/人数均可灵活设置,可以自定义客户预约填写的数据项 预约凭证:支持线下到场后校验签到/核销/二维码自助签到等多种方式详尽的 预约数据:支持预约名单数据导出Excel,打印
 5
5

sudo cd vhost
sudo vim www.jaydenmall.com.conf
server {
	# 监听 80 端口
  listen 80;
  autoindex on;
  server_name www.jaydenmall.com;
  access_log /usr/local/nginx/logs/access.log combined;
  index index.html index.htm index.jsp index.php;
  if ( $query_string ~* ".*[\;'\<\>].*" ){
    return 404;
  }
  location / {
    # 反向代理到 8080 端口
    proxy_pass http://127.0.0.1:8080;
    add_header access-control-allow-origin *;
  }
}重启 nginx
sudo ../../sbin/nginx -s reload
有可能会出现错误,这时需要使用nginx -c的参数指定nginx.conf文件的位置。

sudo killall -9 nginx # 杀掉 nginx 进程
sudo /usr/local/nginx/sbin/nginx -c /usr/local/nginx/conf/nginx.conf
sudo ../../sbin/nginx -s reload # 重启
端口反向代理成功,注意红色部分是默认的 80 端口,实际指向的确是 tomcat 的 8080 端口。

以上就是Nginx域名转发到指定端口如何设置的详细内容,更多请关注php中文网其它相关文章!

每个人都需要一台速度更快、更稳定的 PC。随着时间的推移,垃圾文件、旧注册表数据和不必要的后台进程会占用资源并降低性能。幸运的是,许多工具可以让 Windows 保持平稳运行。

 广告
广告Copyright 2014-2025 https://www.php.cn/ All Rights Reserved | php.cn | 湘ICP备2023035733号


 537
537