


一、初始化项目
初始化vite + vue + ts项目,引入vue-router。
目录结构如下,注意这个404重定向,vue3不支持直接使用“*”匹配所有路由了,要使用:catchall(.*)。
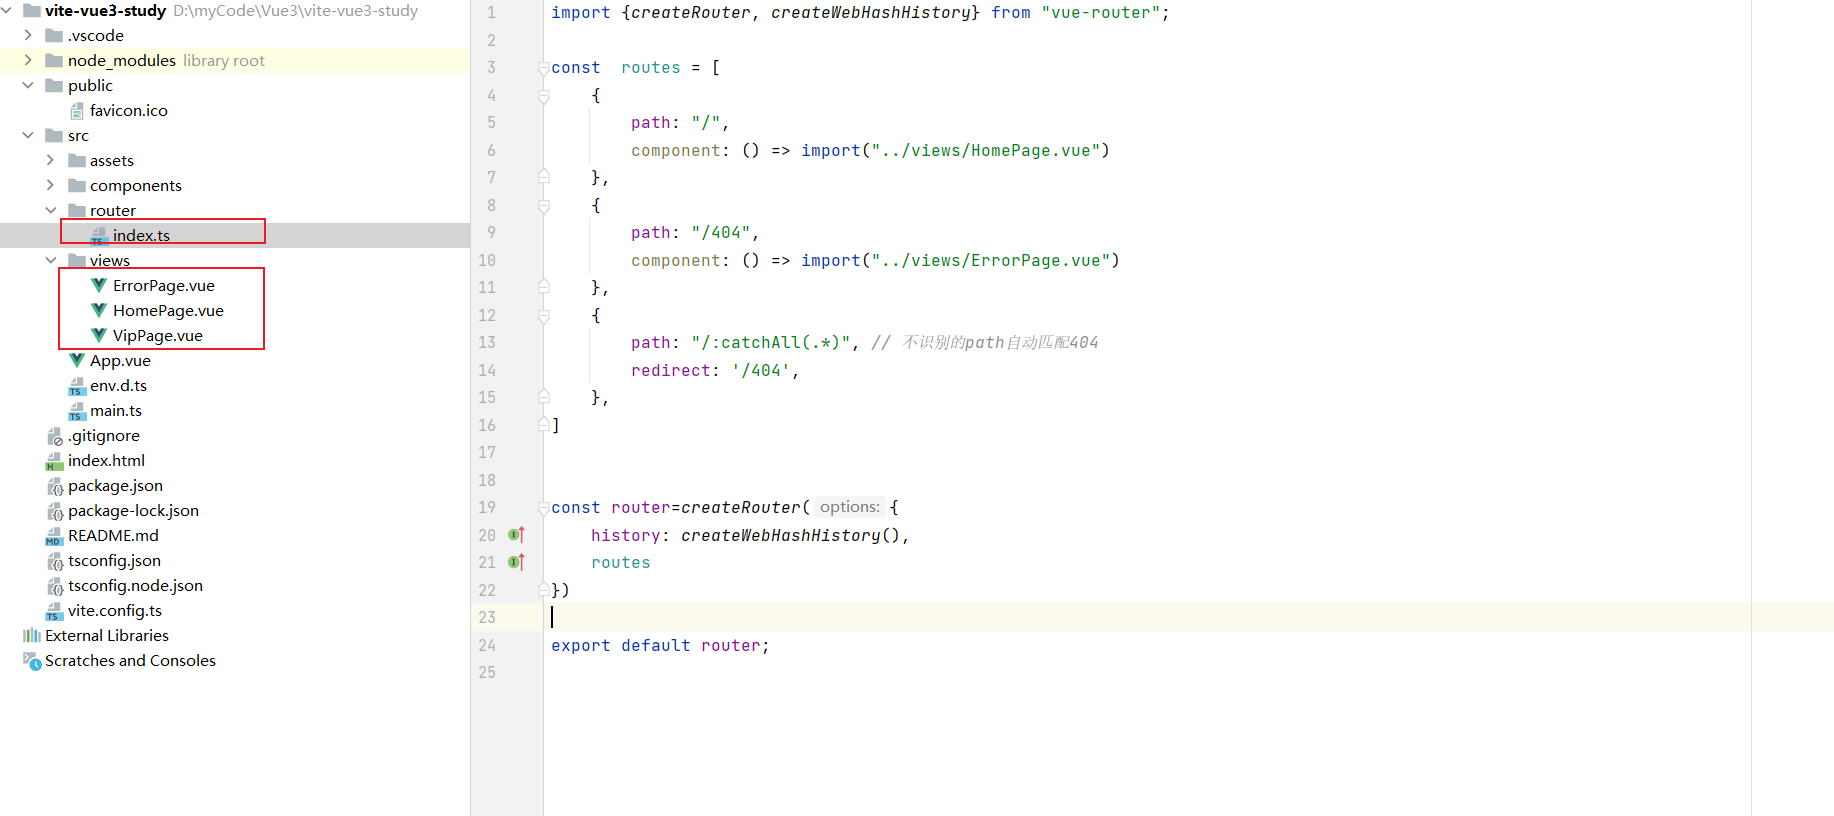
初始化路由:
import {createRouter, createWebHashHistory} from "vue-router";
const routes = [
{
path: "/",
component: () => import("../views/HomePage.vue")
},
{
path: "/404",
component: () => import("../views/ErrorPage.vue")
},
{
path: "/:catchAll(.*)", // 不识别的path自动匹配404
redirect: '/404',
},
]
const router=createRouter({
history: createWebHashHistory(),
routes
})
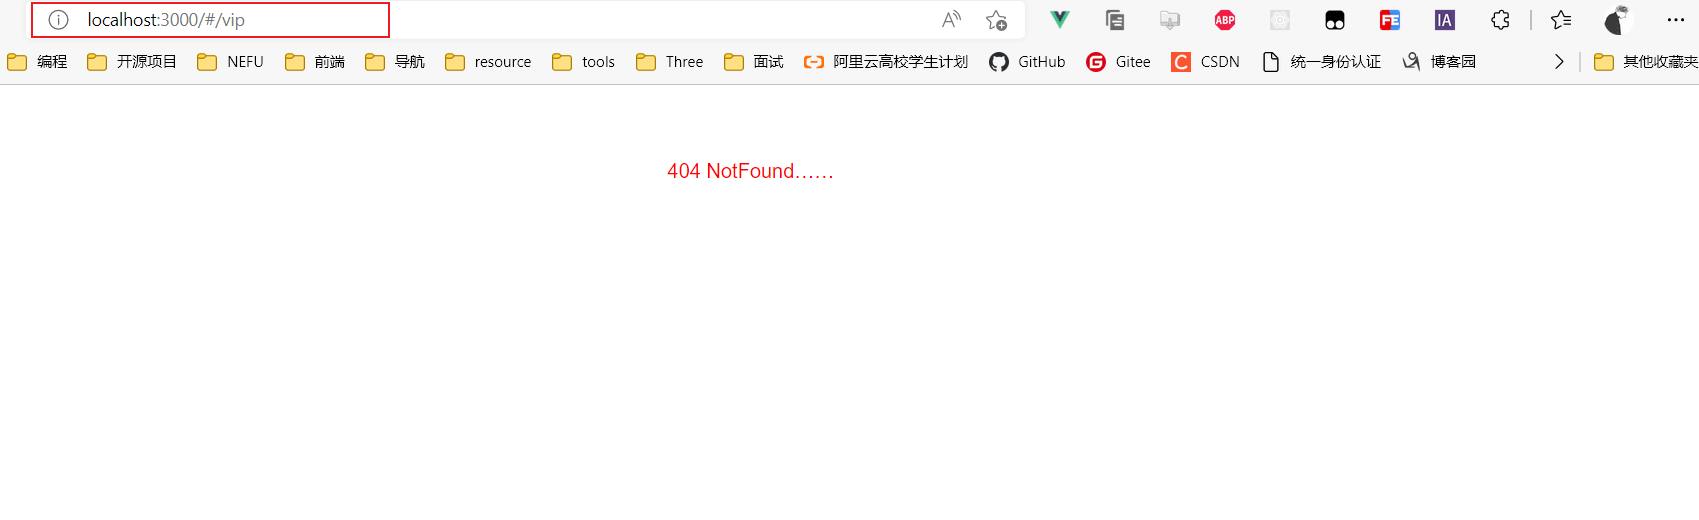
export default router;现在如果去访问vip路由,则会跳转到404页面。
立即学习“前端免费学习笔记(深入)”;
二、添加“vip”路由
如果需要访问vip页面,那么就需要我们动态地添加vip路由,下面代码实现了vip路由添加:

Mfkiqpl旅行社旅游线路预订程序
下载
升级报告:增加动态新闻功能后台添加,删除,编辑,支持UBB代码,支持上传片及文件。 增加我要入团功能散客可以自由选择加入贵社最近要出发的团队。 增加线路置顶功能置顶后的线路永远显示在最前面。 增加同行报价功能管理员在后台添加同行用户,同行用户登录后可查看贵社线路对同行的报价。同行报价在添加线路中一并添加。(感谢网友拽哥提出修改意见) 增加更多线路显示的分页功能方便大型旅行社由于线路过多而引起的部分
import {useRouter} from "vue-router";
let router = useRouter();
function addRouter(){
  router.addRoute(  {
    path: "/vip",
    component: () => import("../views/VipPage.vue")
  })
}
此时我们再去访问vip路由路径:

可以成功访问了。
三、总结
通过使用router对象的addRoute方法,可以实现动态添加路由。有时候可能是添加嵌套路由,也就是子路由。
router.addRoute({ name: 'admin', path: '/admin', component: Admin })
router.addRoute('admin', { path: 'settings', component: AdminSettings })

// 这等效于:
router.addRoute({
  name: 'admin',
  path: '/admin',
  component: Admin,
  children: [{ path: 'settings', component: AdminSettings }],
}) 


