


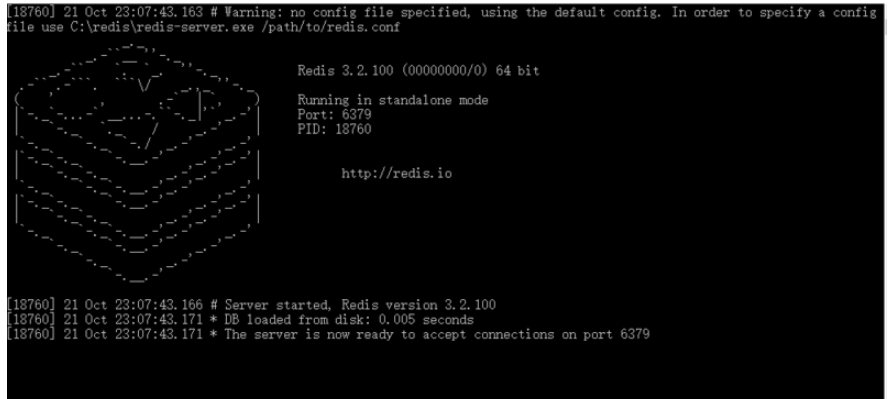
首先开启redis服务器:
然后在springboot里面添加配置文件:
# Redis数据库索引(默认为0)
spring.redis.database=0
# Redis服务器地址
spring.redis.host=localhost
# Redis服务器连接端口
spring.redis.port=6379
# Redis服务器连接密码(默认为空)
spring.redis.password=
# 连接池最大连接数(使用负值表示没有限制)
spring.redis.pool.max-active=8
# 连接池最大阻塞等待时间(使用负值表示没有限制)
spring.redis.pool.max-wait=-1
# 连接池中的最大空闲连接
spring.redis.pool.max-idle=8
# 连接池中的最小空闲连接
spring.redis.pool.min-idle=0
# 连接超时时间(毫秒)
spring.redis.timeout=0
最后在springboot的pom.xml文件中添加依赖:
      org.springframework.boot
      spring-boot-starter-data-redis
然后在springboot的项目中写一个测试类:

@RunWith(SpringRunner.class)
@SpringBootTest
public class ShoppingApplicationTests {
	@Autowired
	  private StringRedisTemplate stringRedisTemplate;
	@Test
	  public void test() throws Exception {
		List list =new ArrayList<>();
		list.add("a");
		list.add("b");
		list.add("v");
		stringRedisTemplate.opsForValue().set("abc", "测试");
		stringRedisTemplate.opsForList().leftPushAll("qq",list);
		// 向redis存入List
		stringRedisTemplate.opsForList().range("qwe",0,-1).forEach(value ->{
			System.out.println(value);
		}
		);
	}
然后在redis里面便可以看到了刚才的新建的

然后这就是最简单的springboot连接redis的方式了


