
在本节中,我们将使用 tailwind css 创建用户配置文件设置设计。此过程将涉及设计一个具有视觉吸引力且用户友好的用户界面,利用 tailwind css 的实用优先方法来有效地设计各种组件的样式。
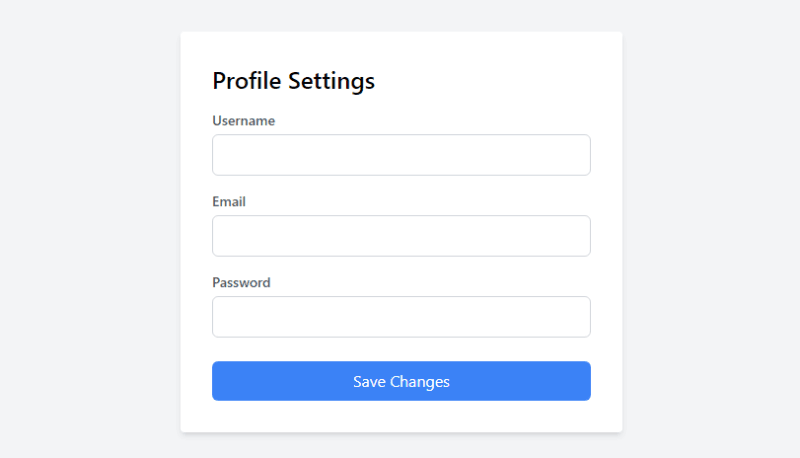
使用 tailwind css 创建一个包含用户名、电子邮件和密码的简约用户配置文件设置。
<div class="bg-gray-100 h-screen flex items-center justify-center">
    <div class="bg-white p-8 rounded shadow-md w-full max-w-md">
        <h1 class="text-2xl font-semibold mb-4">profile settings</h1>

        <form>
            <div class="mb-4">
                <label for="username" class="block text-sm font-medium text-gray-600">username</label>
                <input type="text" id="username" name="username"
                    class="mt-1 p-2 border border-gray-300 rounded-md w-full focus:outline-none focus:ring focus:border-blue-300" />
            </div>

            <div class="mb-4">
                <label for="email" class="block text-sm font-medium text-gray-600">email</label>
                <input type="email" id="email" name="email"
                    class="mt-1 p-2 border border-gray-300 rounded-md w-full focus:outline-none focus:ring focus:border-blue-300" />
            </div>

            <div class="mb-6">
                <label for="password" class="block text-sm font-medium text-gray-600">password</label>
                <input type="password" id="password" name="password"
                    class="mt-1 p-2 border border-gray-300 rounded-md w-full focus:outline-none focus:ring focus:border-blue-300" />
            </div>

            <button type="submit"
                class="w-full bg-blue-500 text-white p-2 rounded-md hover:bg-blue-600 focus:outline-none focus:ring focus:border-blue-300">
                save changes
            </button>
        </form>
    </div>
</div>
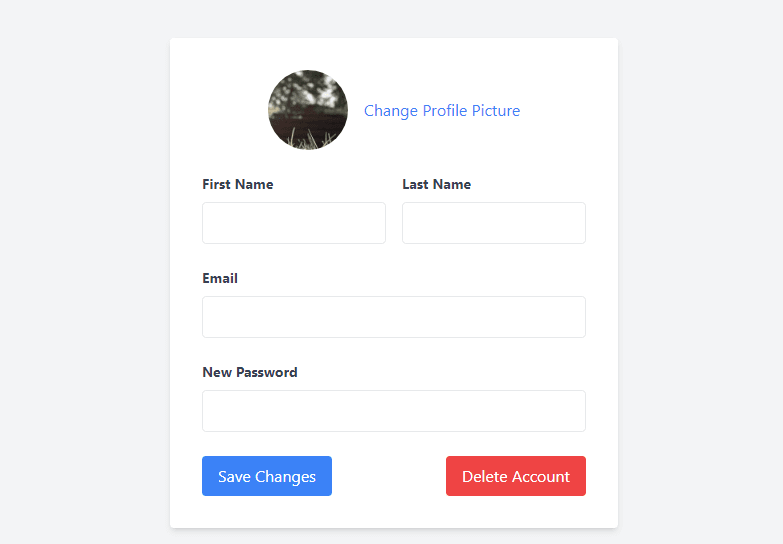
使用 tailwind css 设计用户配置文件增强功能:名字、姓氏、电子邮件、新密码、个人资料图片更新和帐户删除按钮。
<div class="bg-gray-100 min-h-screen flex items-center justify-center">
    <div class="max-w-md bg-white p-8 rounded shadow-md">
        <!-- avatar section -->
        <div class="flex items-center justify-center mb-6">
            <div class="w-20 h-20 mr-4 overflow-hidden rounded-full">
                <img src="https://picsum.photos/200/300" alt="avatar" class="w-full h-full object-cover" />
            </div>
            <div>
                <label for="avatar" class="cursor-pointer text-blue-500 hover:underline">change profile picture</label>
                <input type="file" id="avatar" class="hidden" />
            </div>
        </div>

        <!-- name section -->
        <div class="grid grid-cols-2 gap-4 mb-6">
            <div>
                <label for="firstname" class="block text-gray-700 text-sm font-bold mb-2">first name</label>
                <input type="text" id="firstname"
                    class="w-full px-4 py-2 border rounded focus:outline-none focus:border-blue-500" />
            </div>
            <div>
                <label for="lastname" class="block text-gray-700 text-sm font-bold mb-2">last name</label>
                <input type="text" id="lastname"
                    class="w-full px-4 py-2 border rounded focus:outline-none focus:border-blue-500" />
            </div>
        </div>

        <!-- email section -->
        <div class="mb-6">
            <label for="email" class="block text-gray-700 text-sm font-bold mb-2">email</label>
            <input type="email" id="email"
                class="w-full px-4 py-2 border rounded focus:outline-none focus:border-blue-500" />
        </div>

        <!-- password section -->
        <div class="mb-6">
            <label for="password" class="block text-gray-700 text-sm font-bold mb-2">new password</label>
            <input type="password" id="password"
                class="w-full px-4 py-2 border rounded focus:outline-none focus:border-blue-500" />
        </div>

        <!-- buttons -->
        <div class="flex justify-between">
            <button
                class="bg-blue-500 text-white px-4 py-2 rounded hover:bg-blue-600 focus:outline-none focus:shadow-outline-blue"
                type="button">
                save changes
            </button>
            <button
                class="bg-red-500 text-white px-4 py-2 rounded hover:bg-red-600 focus:outline-none focus:shadow-outline-red"
                type="button">
                delete account
            </button>
        </div>
    </div>
</div>
使用 tailwind css 构建带有侧边栏的响应式配置文件设置页面。
<div class="flex min-h-screen bg-gray-100">
    <!-- Sidebar -->
    <aside class="hidden w-1/4 bg-gray-800 text-white md:block">
        <div class="p-4">
            <h2 class="text-2xl font-semibold">Settings</h2>
            <ul class="mt-4 space-y-2">
                <li><a href="#" class="block px-4 py-2 text-sm hover:bg-gray-700">Profile</a></li>
                <li><a href="#" class="block px-4 py-2 text-sm hover:bg-gray-700">Security</a></li>
                <li><a href="#" class="block px-4 py-2 text-sm hover:bg-gray-700">Notifications</a></li>
            </ul>
        </div>
    </aside>
    <!-- Content -->
    <div class="flex-1 p-8">
        <!-- Mobile Menu Toggle Button (hidden on larger screens) -->
        <div class="flex justify-end md:hidden">
            <button id="menuToggle" class="text-gray-700 hover:text-gray-900 focus:outline-none">
                <svg class="h-6 w-6" fill="none" stroke="currentColor" viewBox="0 0 24 24"
                    xmlns="http://www.w3.org/2000/svg">
                    <path stroke-linecap="round" stroke-linejoin="round" stroke-width="2" d="M4 6h16M4 12h16m-7 6h7">
                    </path>
                </svg>
            </button>
        </div>
        <!-- Profile Settings -->
        <div class="max-w-md rounded bg-white p-8 shadow-md">
            <!-- Avatar Section -->
            <div class="mb-6 flex items-center justify-center">
                <div class="mr-4 h-24 w-24 overflow-hidden rounded-full">
                    <img src="https://picsum.photos/200/300" alt="Avatar" class="h-full w-full object-cover" />
                </div>
                <div>
                    <label for="avatar" class="cursor-pointer text-blue-500 hover:underline">Change Picture</label>
                    <input type="file" id="avatar" class="hidden" />
                </div>
            </div>
            <!-- Form Section -->
            <form>
                <div class="grid grid-cols-2 gap-4">
                    <div>
                        <label for="firstName" class="mb-2 block text-sm font-bold text-gray-700">First Name</label>
                        <input type="text" id="firstName"
                            class="w-full rounded border px-4 py-2 focus:border-blue-500 focus:outline-none" />
                    </div>
                    <div>
                        <label for="lastName" class="mb-2 block text-sm font-bold text-gray-700">Last Name</label>
                        <input type="text" id="lastName"
                            class="w-full rounded border px-4 py-2 focus:border-blue-500 focus:outline-none" />
                    </div>
                </div>
                <div class="mb-6">
                    <label for="email" class="mb-2 block text-sm font-bold text-gray-700">Email</label>
                    <input type="email" id="email"
                        class="w-full rounded border px-4 py-2 focus:border-blue-500 focus:outline-none" />
                </div>
                <div class="mb-6">
                    <label for="password" class="mb-2 block text-sm font-bold text-gray-700">New Password</label>
                    <input type="password" id="password"
                        class="w-full rounded border px-4 py-2 focus:border-blue-500 focus:outline-none" />
                </div>
                <!-- Buttons -->
                <div class="flex justify-end">
                    <button
                        class="focus:shadow-outline-blue rounded bg-blue-500 px-4 py-2 text-white hover:bg-blue-600 focus:outline-none"
                        type="button">Save Changes</button>
                </div>
            </form>
        </div>
    </div>
</div>
以上就是使用 Tailwind CSS 创建响应式配置文件设置 UI的详细内容,更多请关注php中文网其它相关文章!

每个人都需要一台速度更快、更稳定的 PC。随着时间的推移,垃圾文件、旧注册表数据和不必要的后台进程会占用资源并降低性能。幸运的是,许多工具可以让 Windows 保持平稳运行。

Copyright 2014-2025 https://www.php.cn/ All Rights Reserved | php.cn | 湘ICP备2023035733号


 708
708


