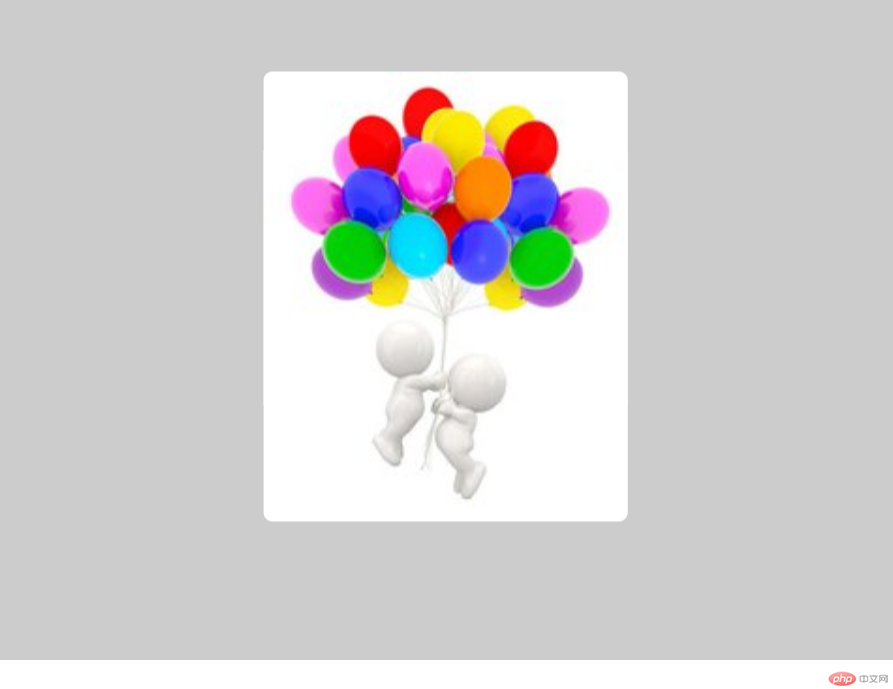
摘要:<!DOCTYPE html> <html> <head> <meta charset="UTF-8"> <title>页面中鼠标移上图片放大效果</title> &n
<!DOCTYPE html>
<html>
<head>
    <meta charset="UTF-8">
    <title>页面中鼠标移上图片放大效果</title>
    <link rel="shortcut icon"  href="static/images/logo.png" type="image/x-icon" />
    <style type="text/css">
       body{
        background: #ccc;
       }
       .pic{
         width:200px;
         height:250px;
         margin: 200px auto;
       }

        .pic img{
          border-radius: 5px;
          transition: all 0.5s;图片放大过程的秒数
        }
       .pic:hover img{
          transform: scale(1.5);
       }
    </style>
</head>
<body>
<div class="pic">
    <img src="static/images/1.jpg">
</div>
</body>
</html>
总结:图片放大既可以通过hover效果规定图片的宽高,但是这样图片从左上角开始放大,比较突兀。用属性transition和transform配合使用,实现图片的等比缩放,效果比较好。transition(参数1,参数2),参数1指设置过渡效果的 CSS 属性的名称。参数2指完成过渡效果需要多少秒或毫秒。transform属性向元素应用 2D 或 3D 转换。该属性可对对元素进行旋转、缩放、移动或倾斜。scale(x,y),定义 2D 缩放转换。

批改老师:天蓬老师批改时间:2018-12-10 15:51:16
老师总结:之前都是要通过几张图片来实现的, 实现这类功能,有很多插件可用,了解原理即可


