


构建强大的ai代理的关键在于其管理和执行工具(函数调用)的能力。这些工具赋予代理执行各种任务的能力,例如数据抓取、内容总结,甚至复杂的流程自动化。然而,随着ai代理规模和功能的扩张,管理和维护众多工具的难度也随之增加。
本教程将使用Toolhouse SDK演示如何利用预构建工具,并追踪每个工具调用的过程。我们将构建一个简单的界面,用户输入URL和提示,AI代理则使用工具抓取网页并处理数据。
为什么工具管理对AI代理至关重要
工具是AI代理的核心,如同其四肢一般。每个工具都代表着AI执行特定任务的专业技能或功能。
面向用户的AI代理需要胜任各种任务。从零开始编写AI工具以实现API集成或网页抓取逻辑,无异于重复造轮子,并且需要开发团队进行长期维护。
Toolhouse平台有效解决了这些问题。它能够:
- 提供各种专业的AI工具,涵盖网页抓取、邮件发送、屏幕截图、API集成(例如LinkedIn API用于搜索个人资料)等任务。
- 在Toolhouse应用中追踪AI代理的工具调用情况。
- 通过Toolhouse SDK快速实现强大的AI功能。
这些功能简化了工具管理,让您专注于构建更智能的AI代理,而无需费心于工具的构建和维护。
Toolhouse入门指南
让我们构建一个AI驱动的网络爬虫。它是一个单页面应用,用户输入待抓取的URL和可选提示,AI代理将抓取网页并处理数据。
所需资源:
- Node.js (v16或更高版本)
- OpenAI API密钥
- Toolhouse API密钥
步骤1:设置React项目
我们将使用React创建一个简单的前端来管理工具调用。确保已安装create-react-app,我们将用它初始化新的React应用。如果未安装,请运行以下命令:
npm install -g create-react-app
在终端输入以下命令:
npx create-react-app ai-scraper
进入项目目录:
cd ai-scraper
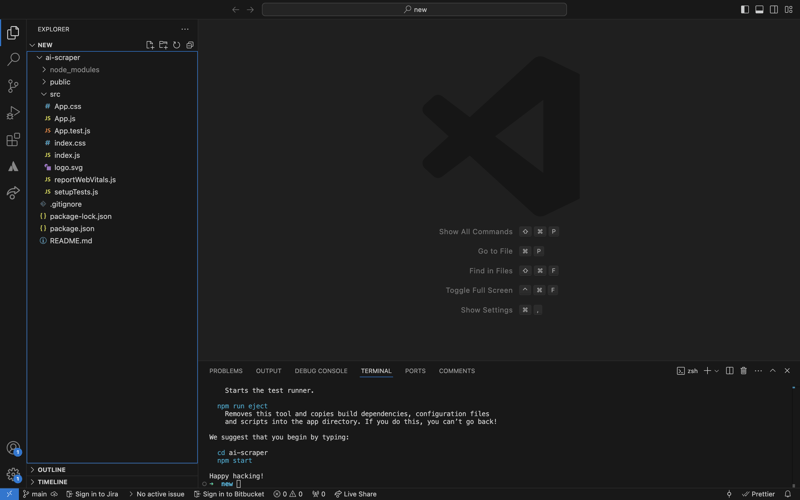
项目文件夹结构应如下所示:
启动服务器:
npm start
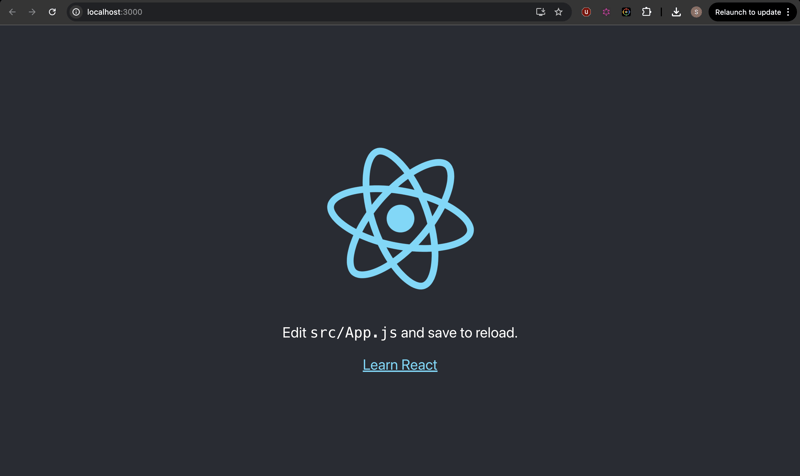
应用应在localhost:3000启动:
步骤2:安装Toolhouse和OpenAI SDK
这些SDK将使我们的应用与Toolhouse平台和OpenAI模型交互:
npm install @toolhouseai/sdk openai
步骤3:添加API密钥
在ai-scraper项目文件夹中创建一个.env文件,并添加以下API密钥:
REACT_APP_TOOLHOUSE_API_KEY=your_toolhouse_api_key
REACT_APP_OPENAI_API_KEY=your_openai_api_key
您可以在platform.openai.com/api-keys找到OpenAI API密钥。将your_openai_api_key替换为您的实际密钥。
要获取Toolhouse API密钥,请先在toolhouse.ai注册一个帐户。

注册后,访问API密钥页面:
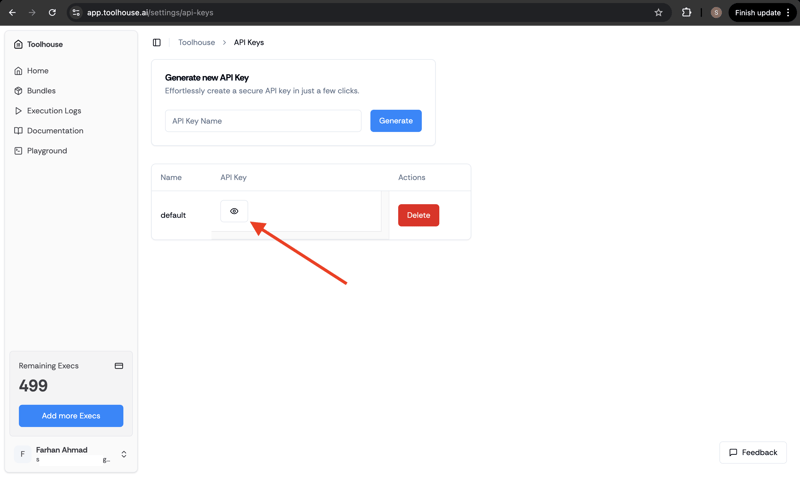
点击眼睛图标显示您的API密钥,复制并粘贴到.env文件的your_toolhouse_api_key处。

TURF(开源)权限定制管理系统(以下简称“TURF系统”),是蓝水工作室推出的一套基于软件边界设计理念研发的具有可定制性的权限管理系统。TURF系统充分考虑了易用性,将配置、设定等操作进行了图形化设计,完全在web界面实现,程序员只需在所要控制的程序中简单调用一个函数,即可实现严格的程序权限管控,管控力度除可达到文件级别外,还可达到代码级别,即可精确控制到
步骤4:在Toolhouse中创建和设置Bundle
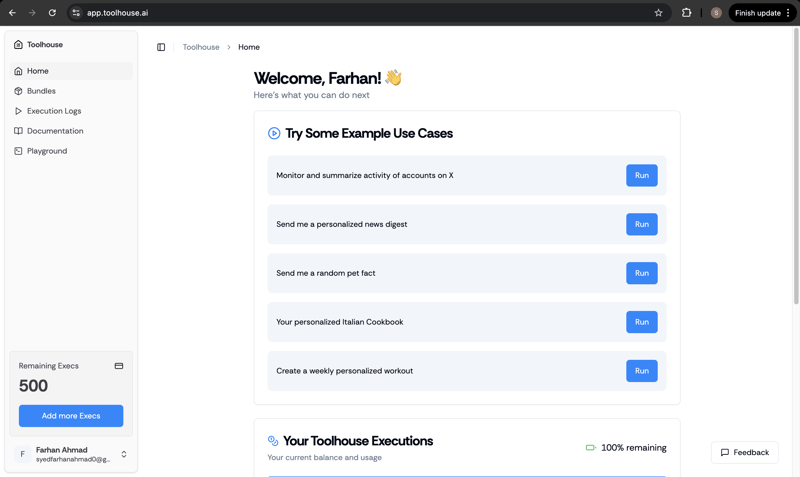
您的Toolhouse仪表板应如下所示:
点击左侧菜单中的“Bundles”创建新的Bundle。Bundle用于组织AI工具。
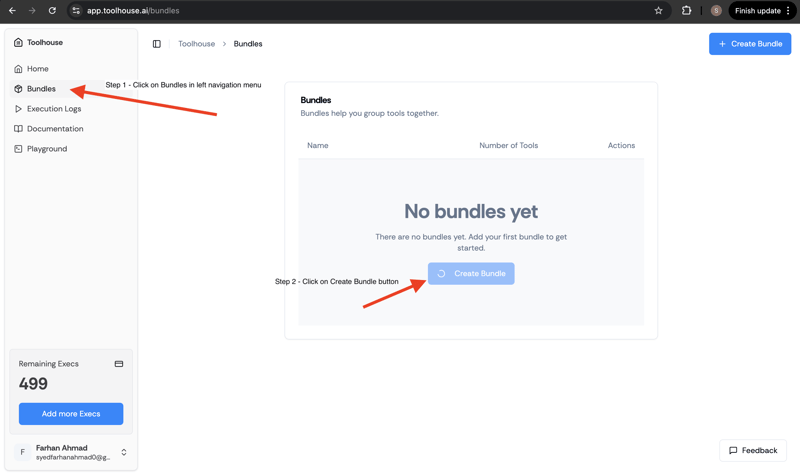
创建后,您可以添加不同的预制工具到Bundle中:
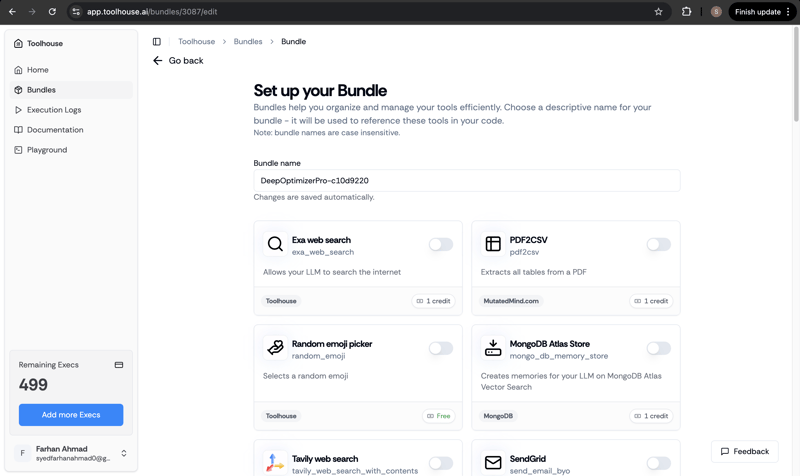
启用Tavily Web Search工具将其添加到您的Bundle:

步骤5:构建App.js组件
在src文件夹中的App.js文件(或App.ts)中替换代码:
import React, { useState } from "react";
import { Toolhouse } from "@toolhouseai/sdk";
import OpenAI from "openai";
import "./App.css";
const model = "gpt-4o-mini";
function App() {
const [url, setUrl] = useState("");
const [prompt, setPrompt] = useState("");
const [result, setResult] = useState("");
const [isLoading, setIsLoading] = useState(false);
const [error, setError] = useState("");
const handleSubmit = async (e) => {
e.preventDefault();
setIsLoading(true);
setError("");
setResult("");
try {
const toolhouse = new Toolhouse({
apiKey: process.env.REACT_APP_TOOLHOUSE_API_KEY,
metadata: {
id: "user_id",
timezone: "0",
},
});
const client = new OpenAI({
apiKey: process.env.REACT_APP_OPENAI_API_KEY,
dangerouslyAllowBrowser: true,
});
const messages = [
{
role: "user",
content: `get the contents of ${url} and ${prompt}`,
},
];
const tools = await toolhouse.getTools();
const chatCompletion = await client.chat.completions.create({
messages,
model: model,
tools,
});
const openaiMessage = await toolhouse.runTools(chatCompletion);
const newMessages = [...messages, ...openaiMessage];
const chatCompleted = await client.chat.completions.create({
messages: newMessages,
model: model,
tools,
});
setResult(chatCompleted?.choices[0]?.message?.content);
} catch (err) {
console.error("Error occurred:", err);
setError(
`An error occurred while processing your request. ${
err.message || JSON.stringify(err)
}`
);
} finally {
setIsLoading(false);
}
};
return (
AI Scraper with Toolhouse