要在linux系统上安装mysql 5.7.38,请按照以下步骤操作:
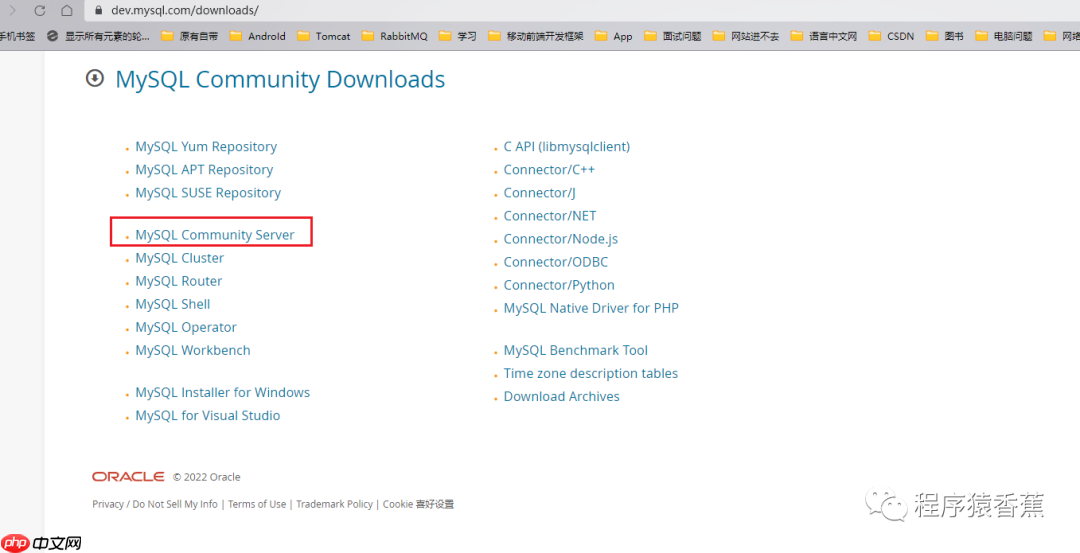
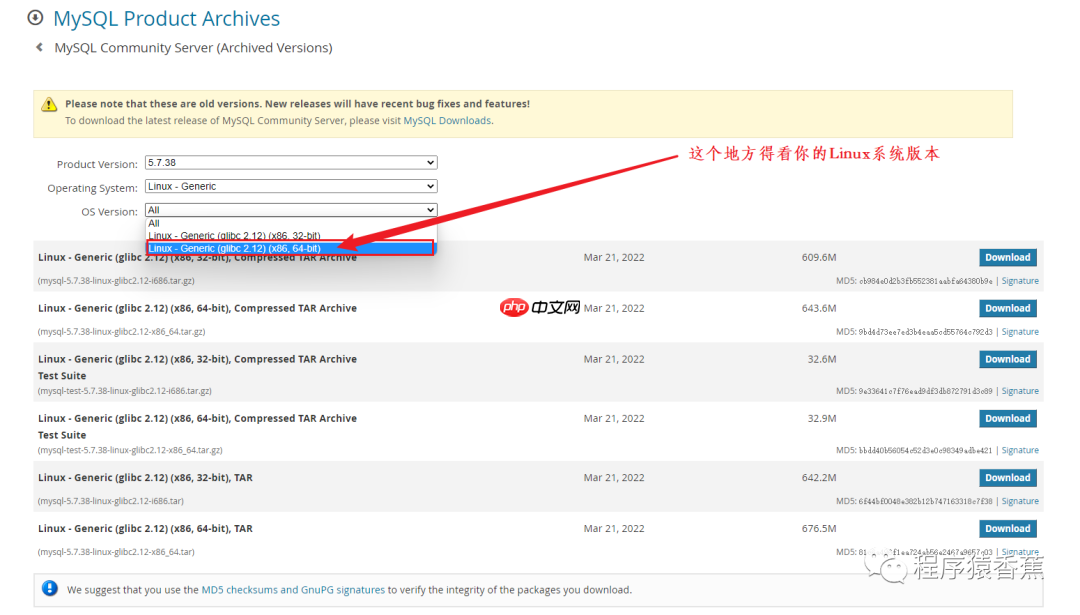
首先,访问MySQL Community Downloads页面(https://www.php.cn/link/4c3839796178ff2728a4e04b1250dc50 Community Server”。
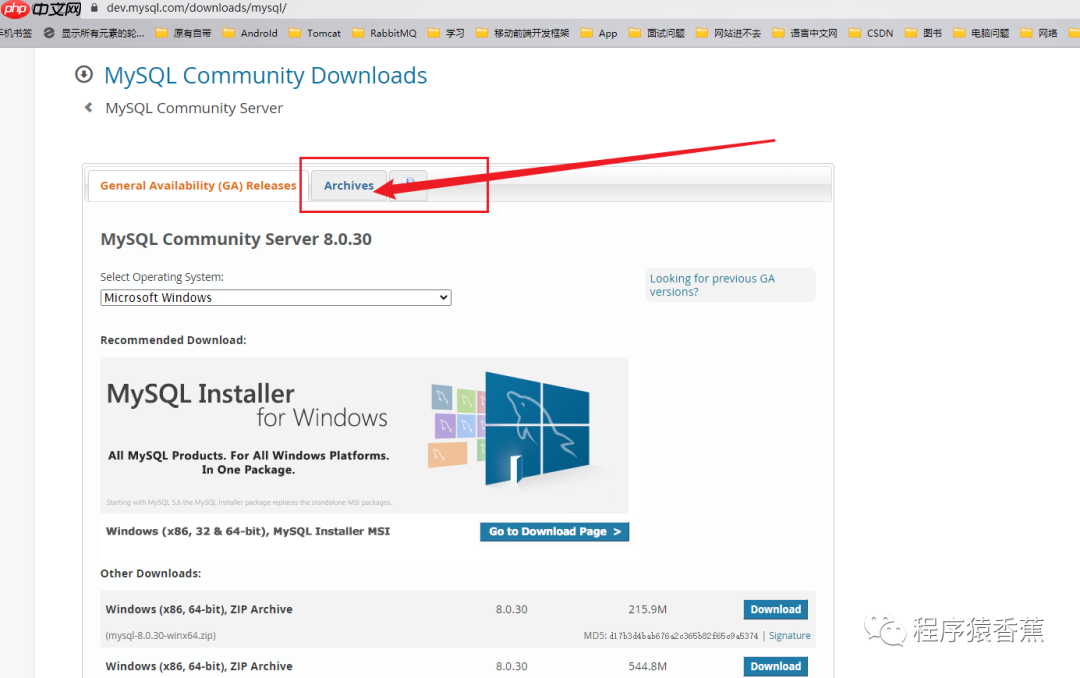
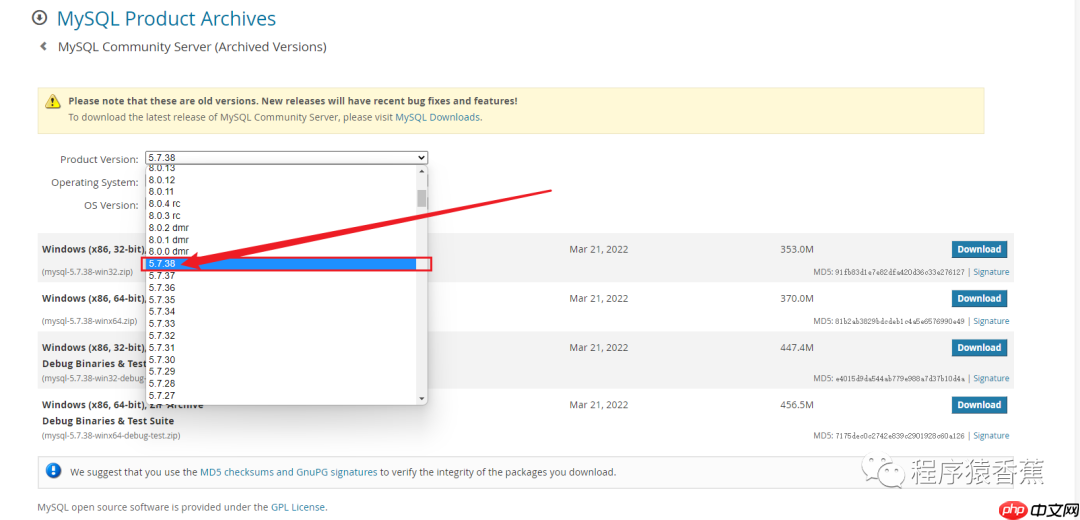
由于我们要安装的是MySQL 5.7.38版本,进入页面后,点击“Archives”选项。
接下来,按照以下步骤进行操作:
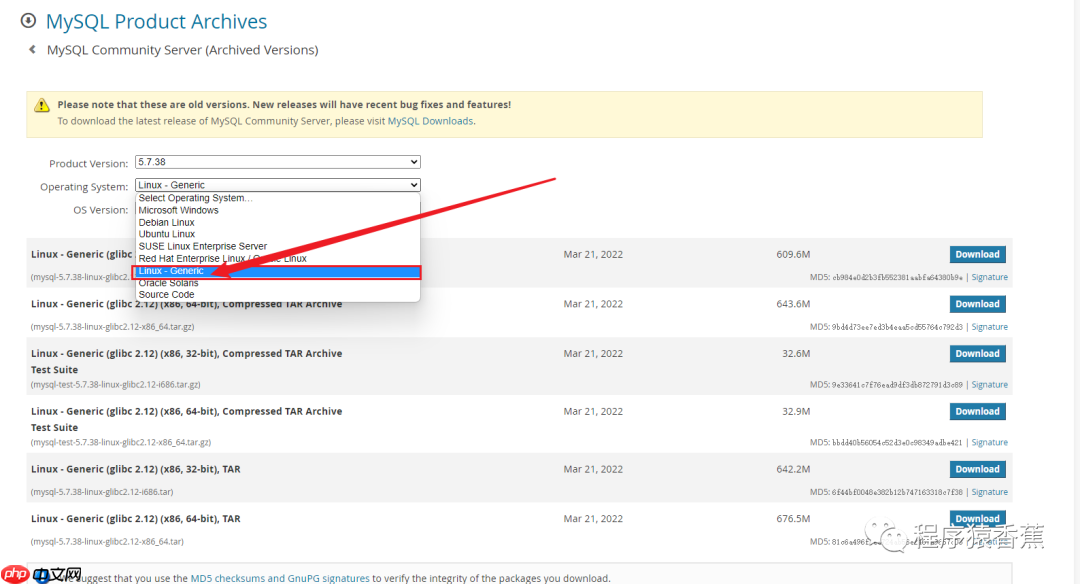
由于在Linux上下载速度较快,首先使用yum安装wget工具。
yum install wget
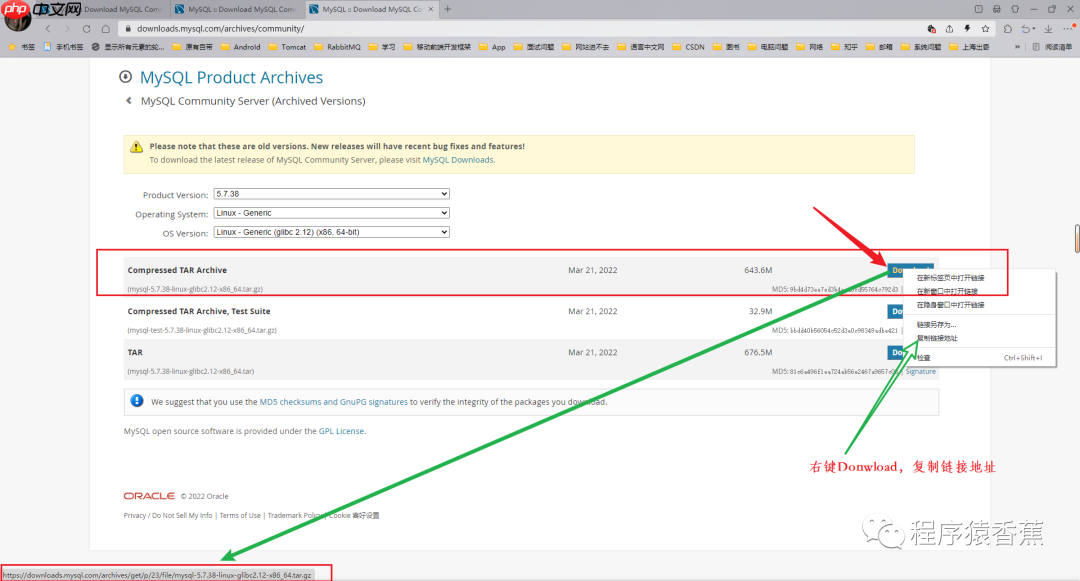
然后,使用wget下载MySQL文件包(通常下载到指定文件夹,这里是在"/usr/local/"目录)。
wget https://downloads.mysql.com/archives/get/p/23/file/mysql-5.7.38-linux-glibc2.12-x86_64.tar.gz
下载完成后,解压mysql-5.7.38-linux-glibc2.12-x86_64.tar.gz文件。
#解压
tar -zxvf mysql-5.7.38-linux-glibc2.12-x86_64.tar.gz
#将mysql-5.7.38-linux-glibc2.12-x86_64重命名为mysql
mv mysql-5.7.38-linux-glibc2.12-x86_64 mysql
创建用户组和用户,并修改权限。
groupadd mysql
useradd -r -g mysql mysql
创建数据目录并赋予权限。
#创建数据库目录
mkdir -p  /data/mysql
#赋予数据库目录权限
chown mysql:mysql -R /data/mysql
修改配置文件“/etc/my.cnf”。
vim /etc/my.cnf
添加以下内容:
# For advice on how to change settings please see
# http://dev.mysql.com/doc/refman/5.6/en/server-configuration-defaults.html
<p>[mysqld]
user=mysql
port = 33306
sql-mode=STRICT_TRANS_TABLES,NO_ENGINE_SUBSTITUTION
character_set_server=utf8mb4
init_connect='SET NAMES utf8'
explicit_defaults_for_timestamp=true
lower_case_table_names = 1</p><h2>Remove leading # and set to the amount of RAM for the most important data</h2><h2>cache in MySQL. Start at 70% of total RAM for dedicated server, else 10%.</h2><h1>innodb_buffer_pool_size = 128M</h1><h2>Remove leading # to turn on a very important data integrity option: logging</h2><h2>changes to the binary log between backups.</h2><h1>log_bin</h1><h2>Remove leading # to set options mainly useful for reporting servers.</h2><h2>The server defaults are faster for transactions and fast SELECTs.</h2><h2>Adjust sizes as needed, experiment to find the optimal values.</h2><h1>join_buffer_size = 128M</h1><h1>sort_buffer_size = 2M</h1><h1>read_rnd_buffer_size = 2M</h1><p>basedir=/usr/local/mysql
datadir=/data/mysql
socket=/tmp/mysql.sock</p><h1>Disabling symbolic-links is recommended to prevent assorted security risks</h1><p>symbolic-links=0</p><p>[mysqld_safe]
log-error=/data/mysql/mysql.err
pid-file=/data/mysql/mysql.pid
初始化数据库。
cd /usr/local/mysql/bin
./mysqld --defaults-file=/etc/my.cnf --basedir=/usr/local/mysql/ --datadir=/data/mysql/ --user=mysql --initialize
初始化完成后,输出日志的最后一行会显示临时密码。
root@localhost: PASSWORD
或者通过查看/data/mysql/mysql.err文件来获取临时密码。
cat /data/mysql/mysql.err
将mysql.server文件移动到/etc/init.d/mysql目录中。
cp /usr/local/mysql/support-files/mysql.server /etc/init.d/mysql
然后启动MySQL,并查看MySQL的状态。
#启动mysql
service mysql start</p><h1>查看mysql运行状态</h1><p>service mysql status
ps -ef|grep mysql
然后登录MySQL。
#由于当前并没有全局设置mysql命令,所以先切换到/usr/local/mysql/bin/文件夹下
./mysql -uroot -pPASSWORD
登录后,执行以下操作:
SET PASSWORD = PASSWORD('newPassword');
ALTER USER 'root'@'localhost' PASSWORD EXPIRE NEVER;
FLUSH PRIVILEGES;
use mysql;</p><h1>使root用户可以在任何IP访问</h1><p>update user set host = '%' where user = 'root';</p><h1>刷新</h1><p>FLUSH PRIVILEGES;然后重新登录。
如果在其他目录下使用mysql命令无法找到,这是因为没有设置软连接。首先找到我们安装MySQL的目录,然后输入以下命令建立软连接。
ln -s /usr/local/mysql/bin/mysql /usr/bin/
这样就可以在全局使用mysql登录命令,如图所示。

设置MySQL开机启动。
#设置mysql开机自启动
chkconfig mysql on</p><h1>取消mysql开机自启动</h1><p>chkconfig mysql off</p><h1>查看系统服务列表,以及每个服务的运行级别</h1><p>chkconfig --list</p><h1>或</h1><p>systemctl list-unit-file
还有另一种专业的设置MySQL开机自启动的方法,详情请点击:
linux如何设置nginx、mysql开机自启动
以上就是Linux安装mysql-5.7.38的详细内容,更多请关注php中文网其它相关文章!

每个人都需要一台速度更快、更稳定的 PC。随着时间的推移,垃圾文件、旧注册表数据和不必要的后台进程会占用资源并降低性能。幸运的是,许多工具可以让 Windows 保持平稳运行。

Copyright 2014-2025 https://www.php.cn/ All Rights Reserved | php.cn | 湘ICP备2023035733号


 578
578