
如何安装并使用 anaconda、jupyterlab、node.js 和 xpython 进行调试?以下是详细的步骤指南。
使用以下命令安装 JupyterLab:
pip install jupyterlab
在安装某些 JupyterLab 扩展时,需要 Node.js。安装步骤如下:
wget https://nodejs.org/dist/v14.17.3/node-v14.17.3-linux-x64.tar.xz    // 下载
tar xf node-v14.17.3-linux-x64.tar.xz                                   // 解压
export PATH=$PATH:/path_to/node-v14.17.3-linux-x64/bin
# node -v
v14.17.3
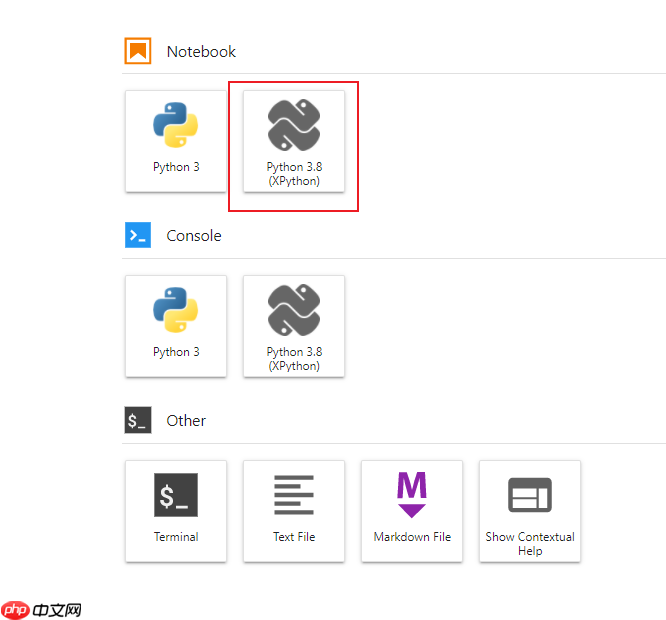
使用以下命令安装 XPython:
pip install xeus-python
安装完成后,您可以使用 XPython。
使用以下命令启动 JupyterLab:
jupyter lab --allow-root --no-browser --ip 0.0.0.0 --port 8080 --notebook-dir /workspace/nfs
如果需要映射端口,可以参考从服务器映射 Jupyter 到本机的应用。
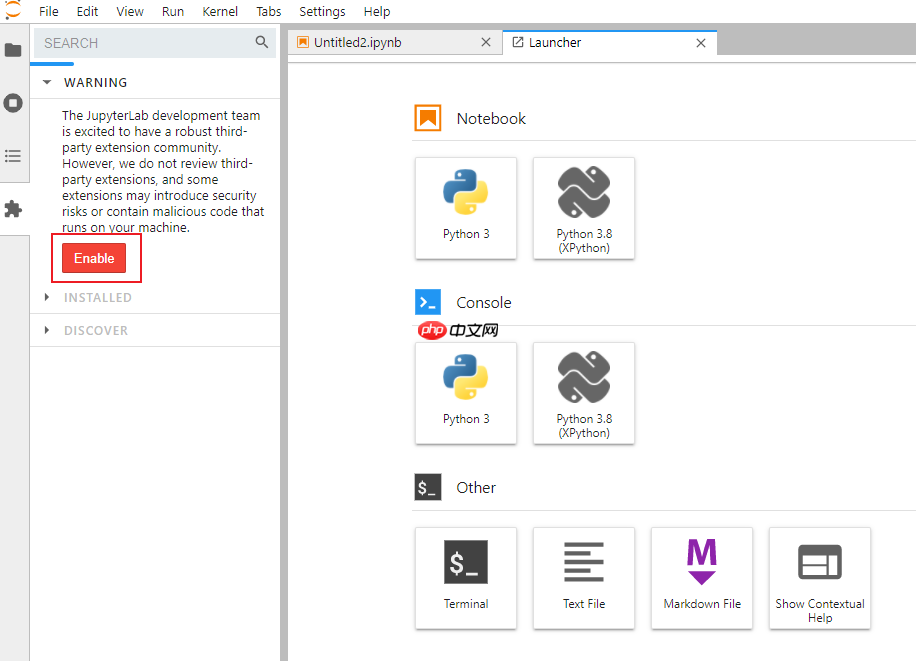
进入 JupyterLab,启用警告中的内容即可使用扩展。
您可以通过以下方式搜索并安装插件:
install。jupyter labextension install @jupyterlab/debugger
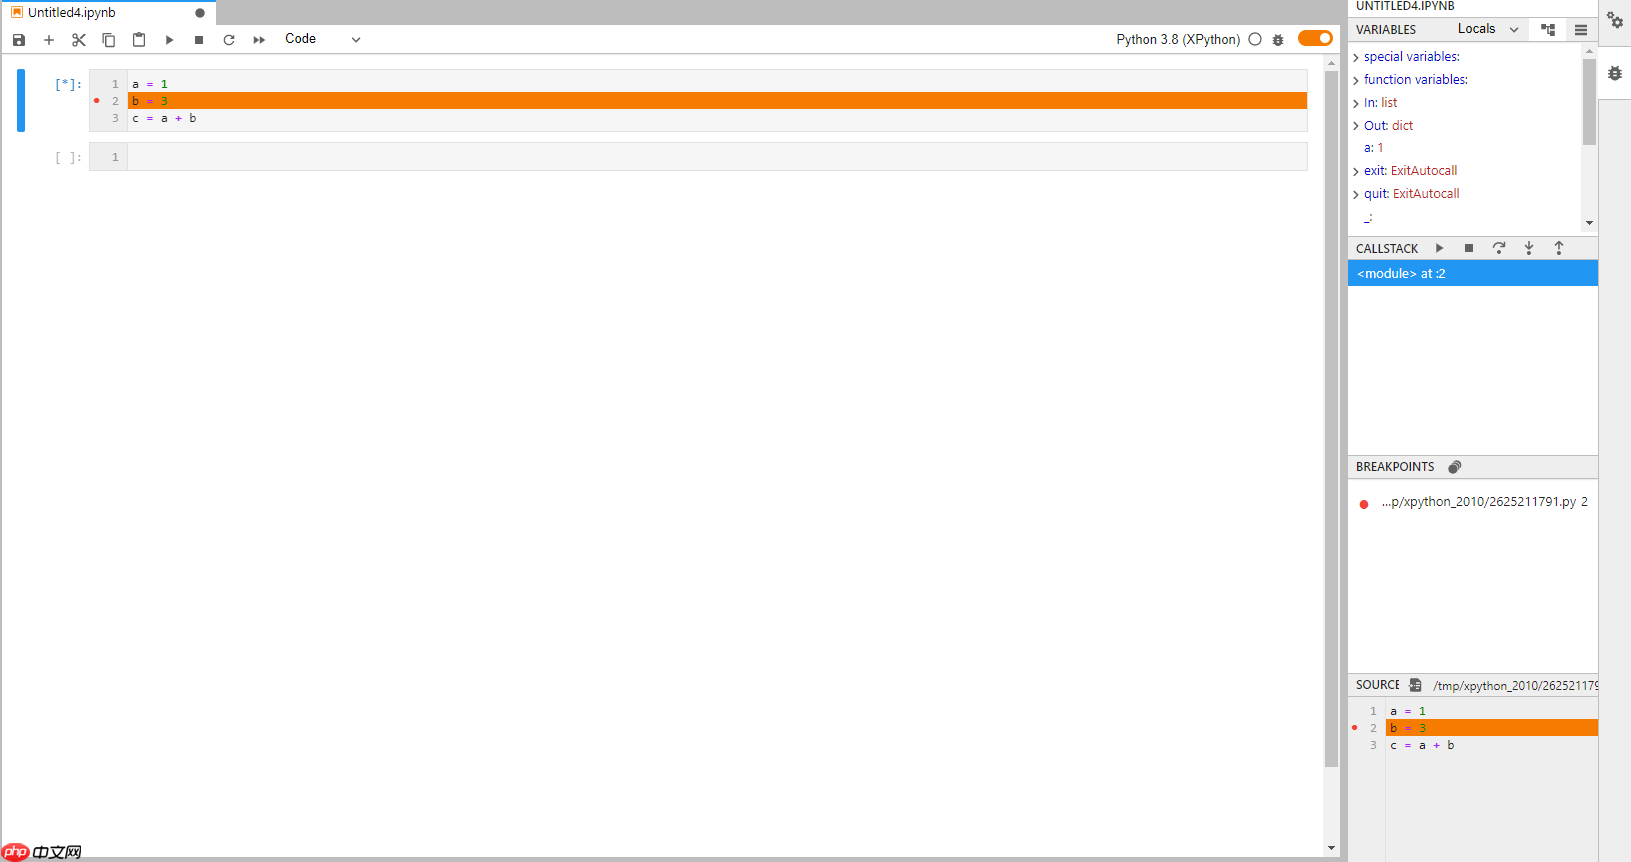
建立 XPython 工程后,设置断点并调试程序。
通过以上步骤,您可以顺利安装并配置 Anaconda、JupyterLab、Node.js 和 XPython,并使用插件进行调试。
以上就是为 jupyterlab 添加 debugger 扩展的详细内容,更多请关注php中文网其它相关文章!

每个人都需要一台速度更快、更稳定的 PC。随着时间的推移,垃圾文件、旧注册表数据和不必要的后台进程会占用资源并降低性能。幸运的是,许多工具可以让 Windows 保持平稳运行。

 广告
广告


Copyright 2014-2025 https://www.php.cn/ All Rights Reserved | php.cn | 湘ICP备2023035733号


 887
887